Crispy Orange Chicken Better Than Any Takeout
Every time I used to order orange chicken, I’d think about how simple it looked while eating it. Crispy chicken, sticky orange sauce, steamed rice. That’s it. That’s the entire dish. Then I made it at home and genuinely haven’t ordered it since.
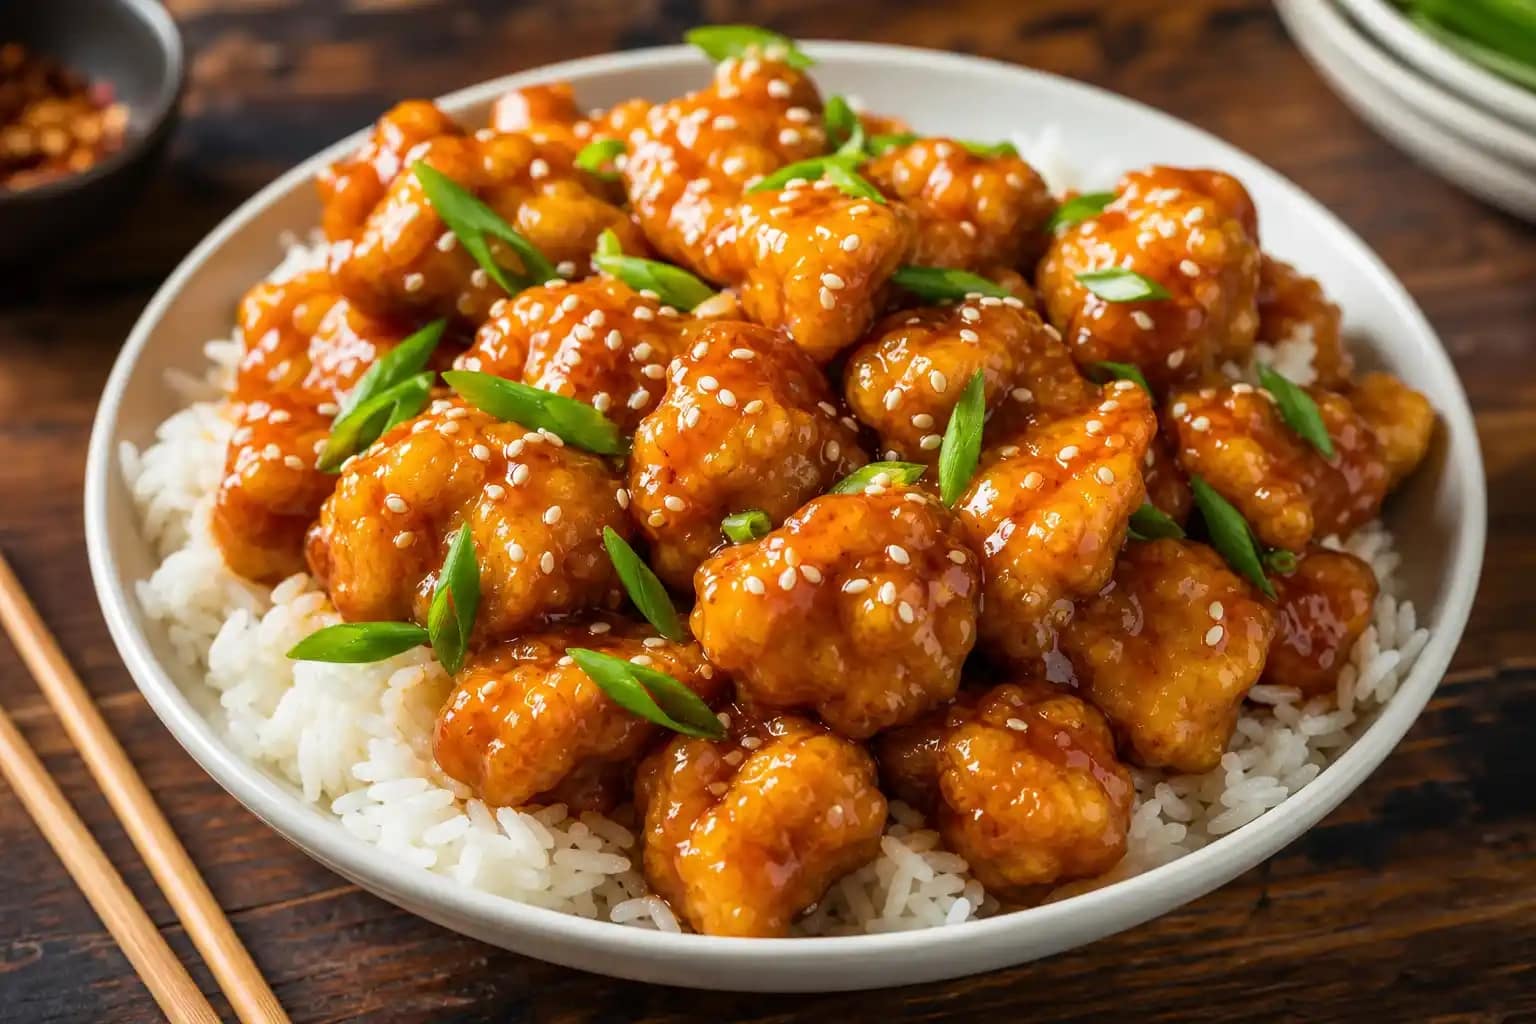
This homemade orange chicken recipe produces crispy, golden chicken pieces coated in a bright, sticky, sweet-tangy orange sauce that tastes noticeably fresher and more complex than any mall food court version. The sauce uses real orange juice, orange zest, and a handful of pantry staples that together create something genuinely restaurant-quality in under an hour.
What You’ll Need (Ingredients)
Two components, both straightforward, both worth doing properly.
For crispy chicken:
- 1 1/2 pounds boneless skinless chicken thighs or breasts, cut into 1-inch pieces
- 1/2 cup cornstarch
- 1/4 cup all-purpose flour
- 1/2 teaspoon salt
- 1/4 teaspoon black pepper
- 1/4 teaspoon garlic powder
- 2 large eggs, beaten
- vegetable oil, for frying (about 2 cups)
Orange sauce:
- 1 cup fresh orange juice (from about 3 large oranges)
- 1 tablespoon orange zest
- 3 tablespoons soy sauce
- 2 tablespoons rice vinegar
- 3 tablespoons granulated sugar or brown sugar
- 1 tablespoon honey
- 3 cloves garlic, minced
- 1 teaspoon fresh ginger, grated
- 1/4 teaspoon red pepper flakes, optional
- 1 tablespoon cornstarch mixed with 2 tablespoons cold water (slurry)
- 1 teaspoon sesame oil
For serving:
- steamed jasmine or white rice
- sliced green onions and sesame seeds for garnish
How to Make It — Full Step-by-Step Process
Step One: Mix the Orange Sauce First
Combine 1 cup of fresh orange juice, 1 tablespoon of orange zest, 3 tablespoons of soy sauce, 2 tablespoons of rice vinegar, 3 tablespoons of sugar, 1 tablespoon of honey, minced garlic, grated ginger, and red pepper flakes in a small bowl. Whisk everything together until the sugar dissolves completely.
Making the sauce before starting the chicken means everything moves quickly once the frying begins, since you won’t need to stop and measure while oil is hot and chicken is cooking. Set the prepared sauce and the cornstarch slurry aside within easy reach of the stove.
Step Two: Prepare the Chicken
Pat the 1 1/2 pounds of cut chicken pieces completely dry with paper towels. Dry chicken produces a significantly crispier coating than damp chicken, since surface moisture turns to steam in the hot oil and prevents the crust from forming properly. This step takes about 30 seconds and makes a genuinely noticeable difference.
Mix 1/2 cup of cornstarch, 1/4 cup of all-purpose flour, 1/2 teaspoon of salt, 1/4 teaspoon of black pepper, and 1/4 teaspoon of garlic powder together in a shallow bowl. Whisk the 2 eggs in a separate shallow bowl. The combination of egg wash and cornstarch-flour coating creates the double-layer crust that produces genuinely crispy orange chicken rather than a thin, soft coating.
Step Three: Coat the Chicken Pieces
Dip each chicken piece into the beaten egg first, letting the excess drip off for about 2 seconds, then toss it in the cornstarch and flour mixture until fully coated on all sides. Press the coating gently against each piece to help it adhere, then set the coated pieces on a clean plate or wire rack while you heat the oil.
Have you ever coated chicken and found the breading sliding off in the oil rather than staying on through frying? The key is letting the coated pieces rest for 2 to 3 minutes before frying, which gives the egg a chance to begin setting and helps the coating grip the chicken surface more firmly.
Step Four: Fry the Chicken
Pour about 2 cups of vegetable oil into a large, deep skillet or wok and heat it to 350°F over medium-high heat. FYI, if you don’t own a thermometer, drop a small pinch of the coating mixture into the oil. If it sizzles immediately and rises to the surface within 2 seconds, the oil is ready.
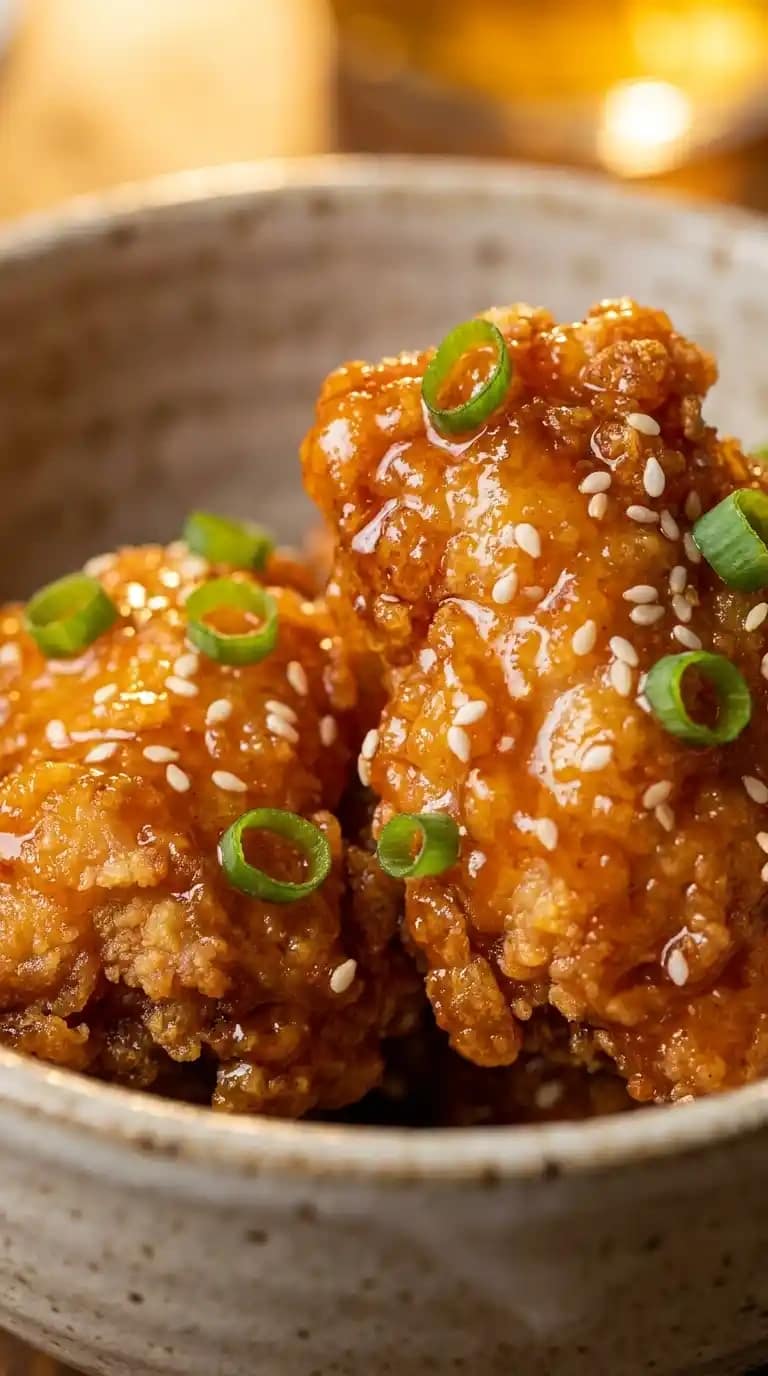
Carefully lower the coated chicken pieces into the hot oil in batches, working with 8 to 10 pieces at a time and leaving space between them. Overcrowding drops the oil temperature dramatically and produces pale, soggy chicken instead of the golden, crispy orange chicken result you’re after. Cook each batch for 3 to 4 minutes, turning once halfway through, until the coating looks deep golden-brown and the chicken is cooked through.
Step Five: Drain and Keep Warm
Transfer the fried chicken pieces to a wire rack set over a paper towel-lined baking sheet rather than placing them directly on paper towels. Resting on a rack allows air to circulate around each piece and keeps the underside crispy, while placing pieces directly on paper towels traps steam and softens the bottom coating within minutes.
Keep finished batches warm in a 250°F oven while you fry the remaining pieces. This maintains the crispiness without overcooking anything and means every piece is ready at the same time when the sauce is finished.
Step Six: Make the Orange Sauce
Pour the prepared orange sauce mixture into a medium saucepan or wok over medium heat. Stir occasionally and bring the mixture to a gentle simmer, which takes about 3 to 4 minutes. The sauce will smell intensely fragrant as the orange juice and ginger heat together, and the color deepens from pale orange to a richer, more golden amber.
Give the cornstarch slurry a quick stir to recombine it since the cornstarch settles at the bottom, then pour it into the simmering sauce while stirring continuously. Cook for 1 to 2 minutes until the sauce thickens noticeably and looks glossy and clingy rather than watery. Remove from heat and stir in 1 teaspoon of sesame oil.
Step Seven: Toss and Serve
Add all the fried chicken pieces to the sauce and toss using tongs or a spatula until every piece is evenly coated in that glossy orange sauce. Work quickly, since the coating starts absorbing the sauce within a minute or two and loses some of its crispiness if it sits too long before serving.
Serve immediately over steamed rice with sliced green onions and sesame seeds scattered over the top. The combination of hot, sticky sauce-coated chicken over fluffy white rice is genuinely one of the most satisfying orange chicken and rice presentations available at any price point.
Baked and Air-Fryer Alternatives
Baked Orange Chicken Option
For a lighter version, bake the coated chicken pieces on a greased wire rack set over a baking sheet at 425°F for 20 to 22 minutes, flipping once halfway through, until golden and cooked through. Baked orange chicken produces a slightly less crispy result than deep frying but still delivers a genuinely satisfying texture with significantly less oil.
Orange Chicken Crock Pot Version
For a hands-off slow cooker approach, skip the coating and frying entirely. Add raw chicken pieces, the orange sauce mixture, and a reduced amount of cornstarch directly to a crockpot and cook on low for 3 to 4 hours or high for 1.5 to 2 hours. The orange chicken crock pot method produces a softer, saucier result closer to a braise than a crispy restaurant dish, but it works well for busy weeknights.
Sauce Variations Worth Trying
Orange Pepper Chicken
Add 1 diced red bell pepper and 1 diced green bell pepper to the sauce along with the garlic and ginger for an orange pepper chicken version that adds color, texture, and a fresh vegetable element. Stir-fry the peppers for 2 minutes before adding the sauce ingredients for a quick orange chicken stir fry variation.
4 Ingredient Orange Chicken Shortcut
For an ultra-quick version, use orange marmalade, soy sauce, rice vinegar, and garlic only. Heat and toss with fried or baked chicken for a simple 4 ingredient orange chicken result that takes about 5 minutes of sauce prep and still tastes genuinely good.
Common Mistakes to Avoid
Not drying the chicken before coating: Wet chicken prevents the crust from adhering and produces a soggy, pale result. Pat thoroughly with paper towels before dipping in egg.
Overcrowding the oil: Too many pieces at once drops the temperature and causes steaming rather than frying. Cook in small batches with space between each piece.
Adding the cornstarch slurry to cold sauce: The slurry only activates and thickens when added to a simmering liquid. Always bring the sauce to a gentle simmer before adding it.
Tossing too early: Sauce-coated chicken sitting for more than 5 minutes before serving gets soggy. Toss and serve immediately for the best texture contrast.

Crispy Orange Chicken Better Than Any Takeout
4
servings15
minutes25
minutesThis homemade orange chicken combines cornstarch-and-flour-coated fried chicken pieces tossed in a sticky fresh orange juice, soy sauce, garlic, and ginger sauce thickened with a cornstarch slurry. Ready in 40 minutes and served over steamed rice, it delivers restaurant-quality crispy orange chicken better than any takeout version.
Ingredients
For the crispy chicken:
1 1/2 pounds boneless skinless chicken thighs or breasts, cut into 1-inch pieces
1/2 cup cornstarch
1/4 cup all-purpose flour
1/2 teaspoon salt
1/4 teaspoon black pepper
1/4 teaspoon garlic powder
2 large eggs, beaten
vegetable oil for frying
For the orange sauce:
1 cup fresh orange juice
1 tablespoon orange zest
3 tablespoons soy sauce
2 tablespoons rice vinegar
3 tablespoons granulated sugar
1 tablespoon honey
3 cloves garlic, minced
1 teaspoon fresh ginger, grated
1/4 teaspoon red pepper flakes, optional
1 tablespoon cornstarch mixed with 2 tablespoons cold water
1 teaspoon sesame oil
For serving:
steamed jasmine rice
sliced green onions and sesame seeds
Directions
- Whisk together orange juice, zest, soy sauce, rice vinegar, sugar, honey, garlic, ginger, and red pepper flakes and set aside
- Mix cornstarch slurry separately and set aside near the stove
- Pat chicken pieces completely dry with paper towels
- Mix cornstarch, flour, salt, pepper, and garlic powder in a shallow bowl
- Beat eggs in a separate shallow bowl
- Dip each chicken piece in egg, then coat in the cornstarch flour mixture and press to adhere
- Let coated pieces rest for 2 to 3 minutes before frying
- Heat vegetable oil to 350°F in a large skillet or wok
- Fry chicken in small batches for 3 to 4 minutes per batch, turning once, until deep golden brown
- Drain on a wire rack and keep warm in a 250°F oven
- Pour the orange sauce mixture into a saucepan over medium heat and bring to a gentle simmer
- Stir the cornstarch slurry and pour into the simmering sauce while stirring continuously
- Cook for 1 to 2 minutes until the sauce thickens and looks glossy
- Remove from heat and stir in sesame oil
- Add all fried chicken to the sauce and toss until evenly coated
- Serve immediately over steamed rice with green onions and sesame seeds
FAQs
Q1: Can I use an orange chicken marinade for extra flavor?
Yes, marinate the chicken pieces in a mixture of soy sauce, orange juice, garlic, and ginger for 30 minutes before coating and frying. Pat very dry afterward since marinade adds moisture that affects the coating adhesion.
Q2: What’s the difference between Chinese orange chicken and American-style versions?
Chinese orange chicken traditionally uses dried orange peel and a spicier profile. The American-style version, popularized by Panda Express, leans sweeter and less spicy with fresh orange juice and a glossier sauce coating.
Q3: Can I use chicken breasts instead of thighs?
Yes, though chicken thighs stay juicier during frying since their higher fat content prevents them from drying out as quickly. Breasts work well but need careful attention to avoid overcooking.
Q4: How do I keep leftover orange chicken crispy?
Reheat in a 375°F oven or air fryer for 5 to 7 minutes rather than microwaving, which makes the coating soft and rubbery. Reheat the sauce separately and toss just before serving.
Wrapping It Up
This crispy orange chicken recipe delivers genuinely impressive takeout-style results through dry chicken, a double coating, properly heated oil, a real orange juice and zest sauce, and immediate serving after tossing. Dry the chicken, coat it properly, fry in small batches, simmer the sauce to the right consistency, and serve immediately. Those habits make the difference every time.
Whether you fry it crispy, bake it lighter, or throw everything in the crockpot for a hands-off version, this dish consistently satisfies. Now squeeze those oranges and heat that oil.