Cold Foam Recipe That Beats Any Coffee Shop
I used to pay an extra three dollars every single time for cold foam on top of my iced coffee. Then I found out it takes five minutes and two ingredients at home. That upcharge felt personal after that.
This cold foam recipe gives you that thick, cloud-like layer floating on top of your iced coffee without leaving your kitchen. You don’t need an espresso machine, a fancy frother, or any special barista training. You just need cold milk and a few minutes.
What You’ll Need (Ingredients)
This base recipe makes the classic vanilla sweet cream cold foam. Every flavor variation below builds from this same starting point.
For the base cold foam:
- 1/2 cup cold heavy cream or oat milk
- 1 tablespoon white sugar
- 1/2 teaspoon vanilla extract
- pinch of salt
How to Make It — Full Step-by-Step Process
Step One: Choose and Chill Your Base
Pour 1/2 cup of cold heavy cream into a mixing bowl or a mason jar with a tight lid. Cold dairy whips up faster and holds its texture far better than room temperature dairy. FYI, this is the single biggest reason home cold foam attempts fail.
If you want a lighter, dairy-free version, swap in oat milk instead. Oat milk cold foam works because oat milk naturally contains more protein and starch than most other plant milks, which helps it whip into a stable, airy foam.
Step Two: Add Your Sweetener and Flavor
Add 1 tablespoon of white sugar, 1/2 teaspoon of vanilla extract, and a small pinch of salt directly into your cold cream or oat milk. The salt sounds like an odd addition for a sweet topping, but it actually rounds out the sweetness and keeps the foam from tasting flat. Stir briefly with a spoon just to combine everything before whipping.
Don’t skip the sugar entirely even if you’re trying to cut back. Sugar helps stabilize the foam structure during whipping, so a foam made with zero sweetener tends to collapse faster and deflate within minutes of sitting on your drink.
Step Three: Whip It to the Right Consistency
Use a milk frother, a hand mixer, or a tightly sealed jar for this step. If using a jar, screw the lid on tight and shake vigorously for 30 to 45 seconds until the mixture roughly doubles in volume. A handheld frother takes about the same amount of time and honestly produces a slightly more consistent texture.
Stop whipping once the foam holds soft peaks and looks thick enough to float a few seconds on its own before slowly sinking. Overwhipping turns cold foam grainy and clumpy rather than smooth and pourable. Have you ever overwhipped cream into butter by accident? Same risk applies here, just slightly less dramatic.
Step Four: Pour Over Your Iced Coffee
Brew or pour your iced coffee into a glass first, filling it about three-quarters full to leave room at the top. Hold a spoon upside down just above the surface of the coffee and pour the whipped foam slowly over the back of the spoon. This spoon trick lets the foam land gently and float on top instead of sinking straight into the coffee.
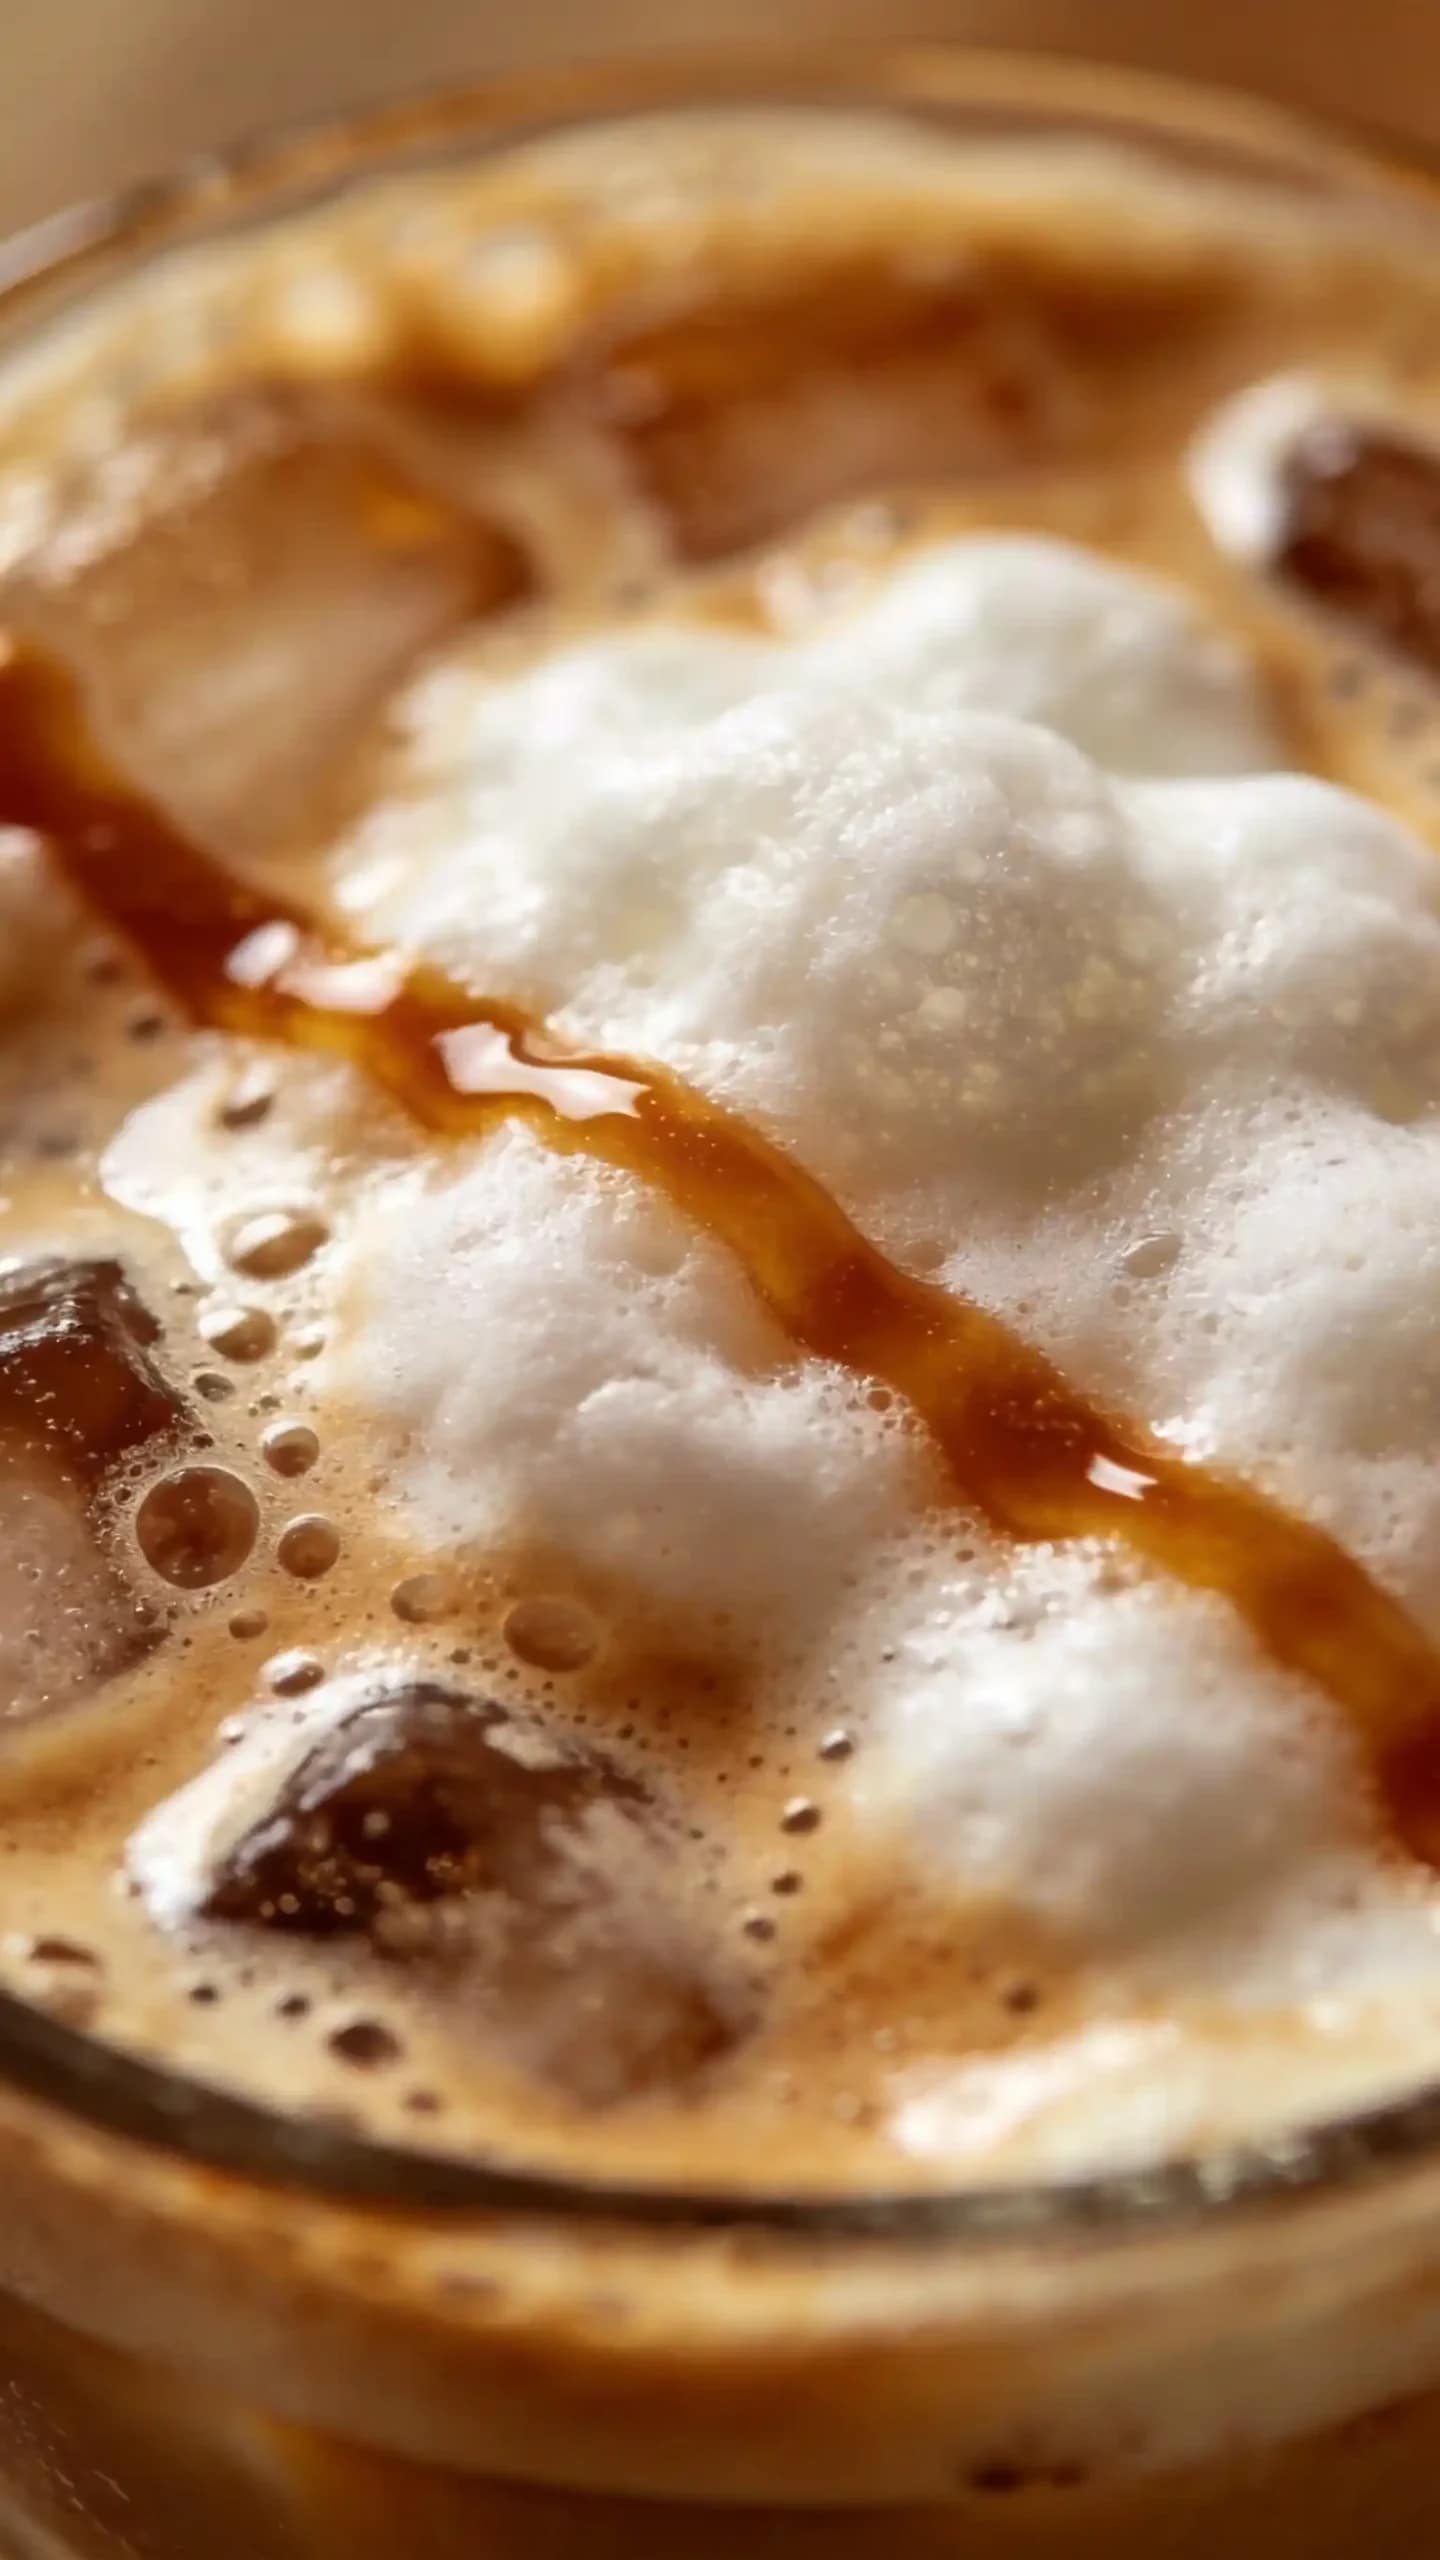
Watch the foam settle into that signature thick, cloud-like layer that defines a proper cold foam coffee drink. Don’t stir it in right away if you want the classic layered look people post online. Stir gently right before drinking if you prefer everything mixed together instead.
Flavor Variations Worth Trying
Brown Sugar Cold Foam
Swap the white sugar for 1 tablespoon of packed brown sugar and add 1/4 teaspoon of cinnamon. The molasses notes in brown sugar create a deeper, more caramelized flavor that pairs beautifully with a bold cold brew base.
Salted Caramel Cold Foam
Stir in 1 tablespoon of caramel sauce along with an extra pinch of flaky sea salt before whipping. This version tastes genuinely close to what you’d get from a drive-through, except it costs you about thirty cents instead of six dollars.
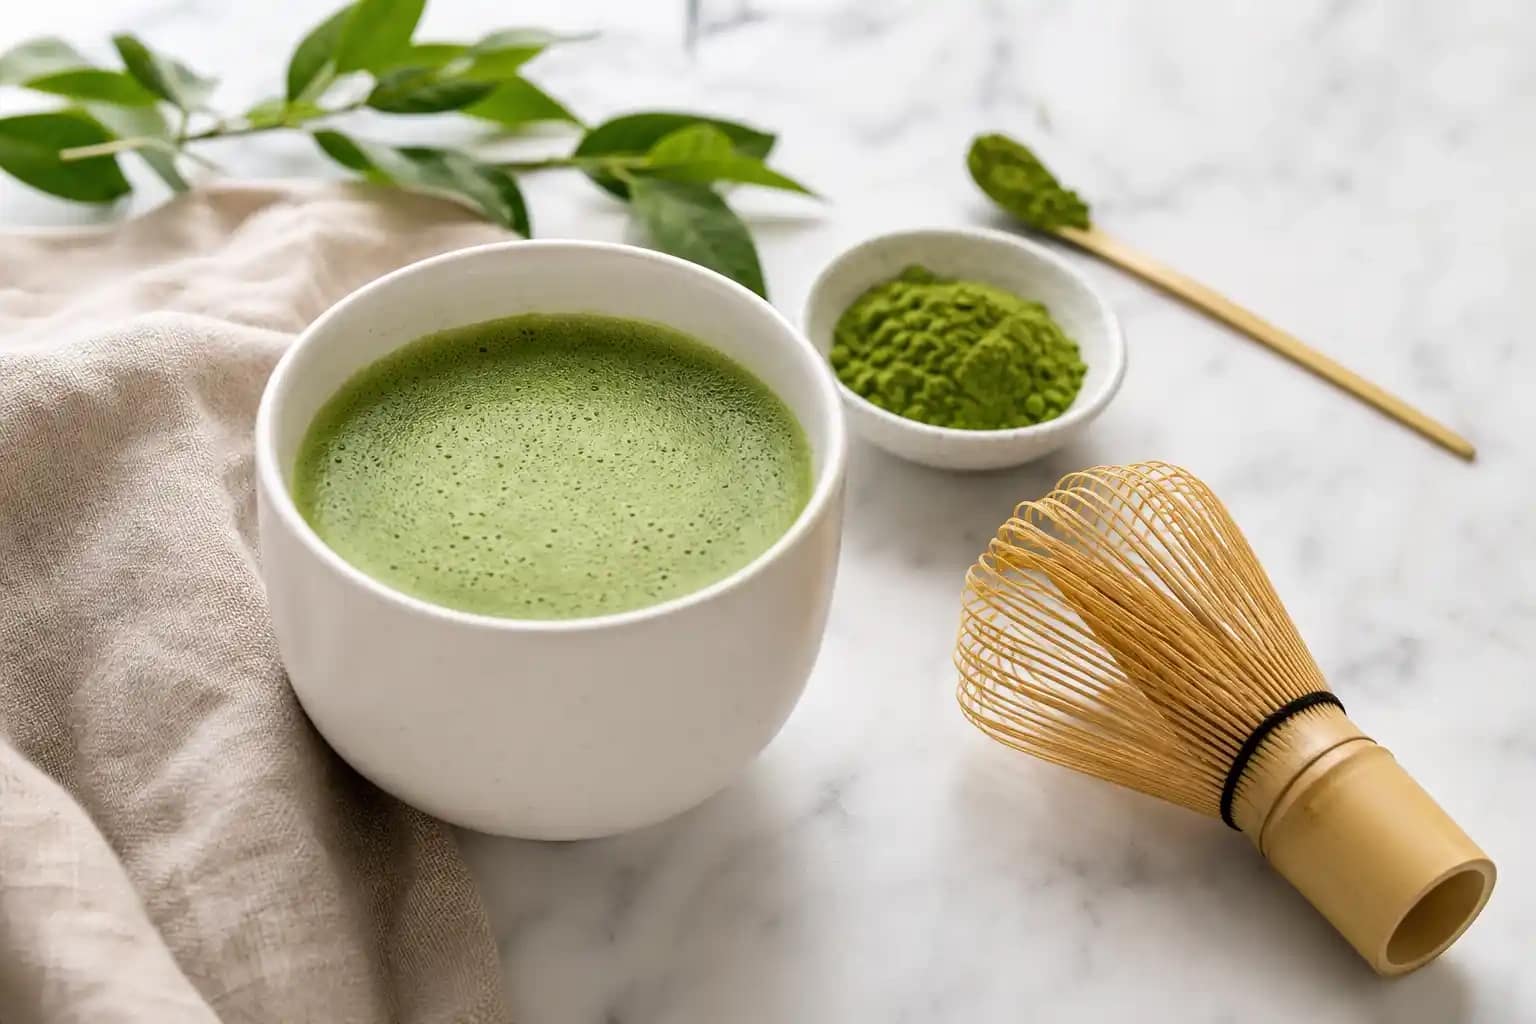
Matcha Cold Foam
Whisk 1/2 teaspoon of matcha powder into the cream before whipping, breaking up any clumps first with a small amount of warm water. Matcha cold foam adds an earthy, slightly bitter contrast that works beautifully against a sweeter iced coffee or chai base.
Cookie Butter Cold Foam
Mix in 1 tablespoon of cookie butter spread, like Biscoff, and whip as usual. IMO this one tastes the most dessert-like of all the variations, almost like drinking a cookie in liquid form.
Strawberry and Lavender Versions
For strawberry cold foam, blend 2 tablespoons of fresh strawberries with the cream before whipping and strain out the seeds if needed. For lavender cold foam, steep 1/2 teaspoon of dried culinary lavender in the cream for 10 minutes, strain, then chill before whipping.
Toffee Nut Cold Foam
Add 1 tablespoon of toffee syrup and a tiny pinch of cinnamon for a nutty, caramelized flavor reminiscent of a popular seasonal coffee shop drink. This one works particularly well over a plain cold brew rather than a flavored one, since it already brings plenty of its own character.

Cold Foam Recipe That Beats Any Coffee Shop
2
servings5
minutesThis homemade cold foam combines cold heavy cream or oat milk with sugar, vanilla, and a pinch of salt, whipped to soft peaks and poured over iced coffee. Ready in five minutes with endless flavor variations like brown sugar, matcha, and salted caramel, it delivers coffee shop quality for pennies.
Ingredients
For the base cold foam:
1/2 cup cold heavy cream or oat milk
1 tablespoon white sugar
1/2 teaspoon vanilla extract
pinch of salt
Directions
- Pour cold heavy cream or oat milk into a mixing bowl or sealed jar
- Add white sugar, vanilla extract, and a pinch of salt
- Stir briefly to combine before whipping
- Whip using a frother, hand mixer, or by shaking the sealed jar vigorously for 30 to 45 seconds
- Stop whipping once the mixture holds soft peaks and roughly doubles in volume
- Pour iced coffee into a glass, filling about three-quarters full
- Hold a spoon upside down above the coffee and pour the whipped foam slowly over the back of it
- Let the foam float on top for the classic layered look, or stir gently before drinking
Heavy Cream vs Oat Milk: Which Should You Use?
Have you ever wondered why some cold foams taste rich and decadent while others feel light and barely-there? The base liquid you choose makes that entire difference.
Heavy cream produces a thicker, richer foam that holds its shape longer and tastes noticeably more indulgent. Oat milk cold foam whips up lighter and dissolves into the coffee faster, but it’s the better choice if you’re avoiding dairy or just want something less heavy on a hot afternoon. Neither option is objectively better, it genuinely depends on what you’re in the mood for that day.
Common Mistakes to Avoid
Using warm or room temperature dairy: Warm cream simply will not whip into stable foam no matter how long you try. Always start with cold ingredients straight from the fridge.
Overwhipping past soft peaks: This turns your smooth foam grainy and clumpy instead of pourable. Stop as soon as it holds soft peaks and looks thick.
Skipping the sugar: A completely unsweetened foam collapses much faster than one with even a small amount of sugar in it. The sugar isn’t just for taste, it’s doing structural work too.
Pouring foam directly into the center of the drink: This causes it to sink immediately instead of floating. Always use the back-of-spoon pouring trick for that proper layered look.
FAQs
Q1: Can I make cold foam without a frother?
Yes, a tightly sealed mason jar works just as well. Shake vigorously for 30 to 45 seconds until the mixture doubles in volume and holds soft peaks.
Q2: Does cold foam taste different from regular whipped cream?
Yes, cold foam is lighter, less sweet, and has a thinner, more pourable consistency than traditional whipped cream. Whipped cream holds firm peaks, while cold foam settles into a soft, cloud-like layer.
Q3: How long does homemade cold foam last in the fridge?
Cold foam is best made fresh and used within a few minutes, since it naturally deflates over time. You can store the unwhipped base mixture in the fridge for up to 3 days and whip it fresh when ready.
Q4: Can I use regular milk instead of heavy cream or oat milk?
Regular milk technically works but produces a much thinner, less stable foam due to its lower fat content. Whole milk performs better than skim if heavy cream isn’t available.
Q5: Why did my cold foam turn out watery instead of thick?
This usually happens from underwhipping or starting with dairy that wasn’t cold enough. Make sure your cream or oat milk comes straight from the fridge and whip for the full 30 to 45 seconds.
Q6: Is cold foam the same as nitro cold brew foam?
No, nitro cold brew gets its foam from nitrogen gas infused directly into the coffee itself, creating a naturally creamy texture without any added dairy. Cold foam is a separate whipped topping you add on top of regular iced coffee.
Wrapping It Up
This cold foam recipe takes five minutes and saves you a genuinely ridiculous amount of money over time compared to ordering it at a coffee shop. Start with cold dairy or oat milk, add your sweetener and flavoring, whip to soft peaks, and pour gently over the back of a spoon. Those habits produce that signature thick, floating layer every single time.
Whether you go classic vanilla, rich salted caramel, or something more adventurous like lavender, this skill pays for itself within your first week of making it. Now go raid your fridge and start whipping.