Italian Pizza Dough With Bread Flour From Scratch
Everyone obsesses over pizza toppings and sauce combinations. Meanwhile the dough, which is literally everything holding this together, gets completely ignored. I spent years buying pre-made dough before I realized homemade takes about 15 minutes of actual effort and tastes dramatically better.
This pizza dough recipe produces a chewy, slightly crispy crust with genuine flavor from a proper rise. It works for classic pizza, flatbread pizza recipes, calzones, breadsticks, and basically anything else you want to make with it. One batch opens up more pizza dough ideas than most people realize.
What You’ll Need (Ingredients)
Five ingredients. That’s genuinely all this takes.
For the dough:
- 1 1/2 cups warm water, around 110°F
- 2 1/4 teaspoons active dry yeast (one standard packet)
- 1 teaspoon sugar
- 3 1/2 cups bread flour, plus extra for dusting (all-purpose works too)
- 1 1/2 teaspoons salt
- 2 tablespoons olive oil, plus extra for the bowl
How to Make It — Full Step-by-Step Process
Step One: Activate the Yeast
Pour 1 1/2 cups of warm water into a large mixing bowl. The water temperature matters more than most people realize, since water above 115°F kills yeast instantly and cold water below 105°F leaves yeast sluggish and inactive. Around 110°F feels like a comfortable warm bath against your wrist.
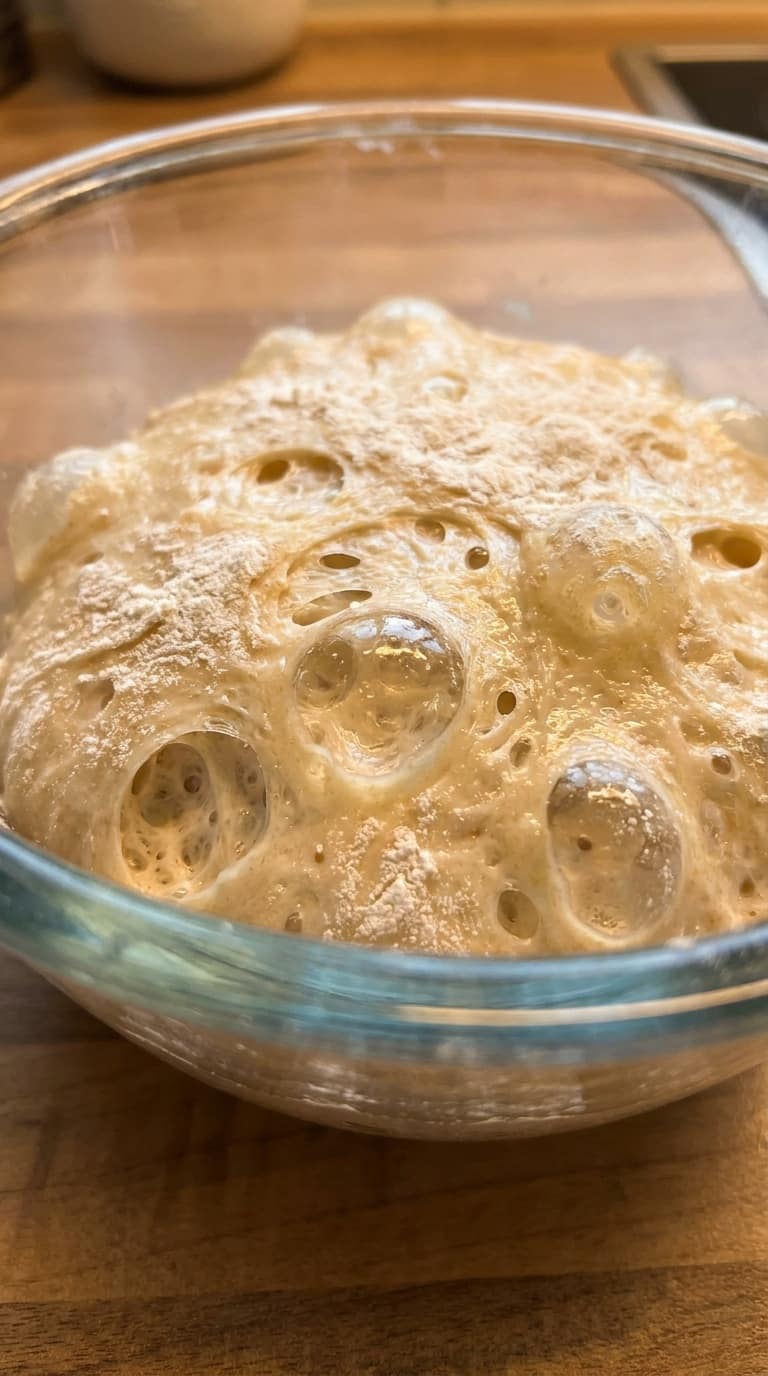
Add 1 teaspoon of sugar and 2 1/4 teaspoons of active dry yeast to the warm water. Stir once gently and leave completely undisturbed for 5 to 10 minutes. After this time, the surface should look foamy and bubbly with a yeasty smell. If it looks completely flat and unchanged after 10 minutes, your yeast is dead and the dough won’t rise — start fresh with a new packet rather than wasting time on dough that will never work.
Step Two: Add the Flour and Salt
Add 2 tablespoons of olive oil to the activated yeast mixture and stir briefly to combine. Add 3 cups of bread flour and 1 1/2 teaspoons of salt, stirring with a wooden spoon or spatula until the mixture comes together into a rough, shaggy mass that holds together when pressed. It should look messy and uneven at this stage, which is completely normal and not a sign anything has gone wrong.
Add the remaining 1/2 cup of flour gradually, a few tablespoons at a time, stirring between each addition until the dough pulls away from the sides of the bowl and no longer sticks to your fingers when you press it briefly. The exact amount of flour varies slightly depending on your brand and how humid your kitchen is, so go by feel rather than adding every last tablespoon automatically.
Step Three: Knead Until Smooth
Turn the dough out onto a lightly floured surface and knead for 8 to 10 minutes by hand. Push the dough away from you with the heel of your palm, fold it back toward you, rotate it a quarter turn, and repeat. This motion builds the gluten network that gives the finished crust its characteristic chew and structural integrity.
Have you ever bitten into a pizza crust that tore apart instead of stretching? Under-kneaded dough without sufficient gluten development does exactly that. Keep kneading until the dough feels smooth and elastic and springs back immediately when you poke it with a floured finger. Alternatively, use a stand mixer with a dough hook on medium speed for 5 to 6 minutes to achieve the same result with significantly less arm effort.
Step Four: First Rise
Shape the kneaded dough into a smooth ball by pulling the surface taut and tucking the edges underneath. Place it into a large bowl lightly coated with olive oil, then turn the dough ball once to coat all surfaces with a thin layer of oil. This oil coating prevents a dry skin from forming on the outside of the dough during rising.
Cover the bowl tightly with plastic wrap or a clean damp kitchen towel. Set it in a warm, draft-free spot for 1 hour until the dough roughly doubles in size. FYI, a turned-off oven with just the light on creates an ideal proofing environment in cooler kitchens where room temperature alone isn’t quite warm enough to get a good rise.
Step Five: Divide and Rest
Punch the risen dough down firmly with your fist to release the built-up gas inside. Turn it out onto a lightly floured surface and divide it into 2 equal pieces for large pizzas, or 4 equal pieces for personal-sized ones. Shape each piece into a smooth ball using the same tucking technique from Step Four.
Let the divided dough balls rest uncovered on a lightly floured surface for 15 minutes before shaping. This resting period relaxes the gluten, which makes the dough significantly easier to stretch without it snapping back to its original shape every time you try to push it outward. Skipping this rest makes stretching genuinely frustrating, so those 15 minutes pay off immediately.
Step Six: Shape the Dough
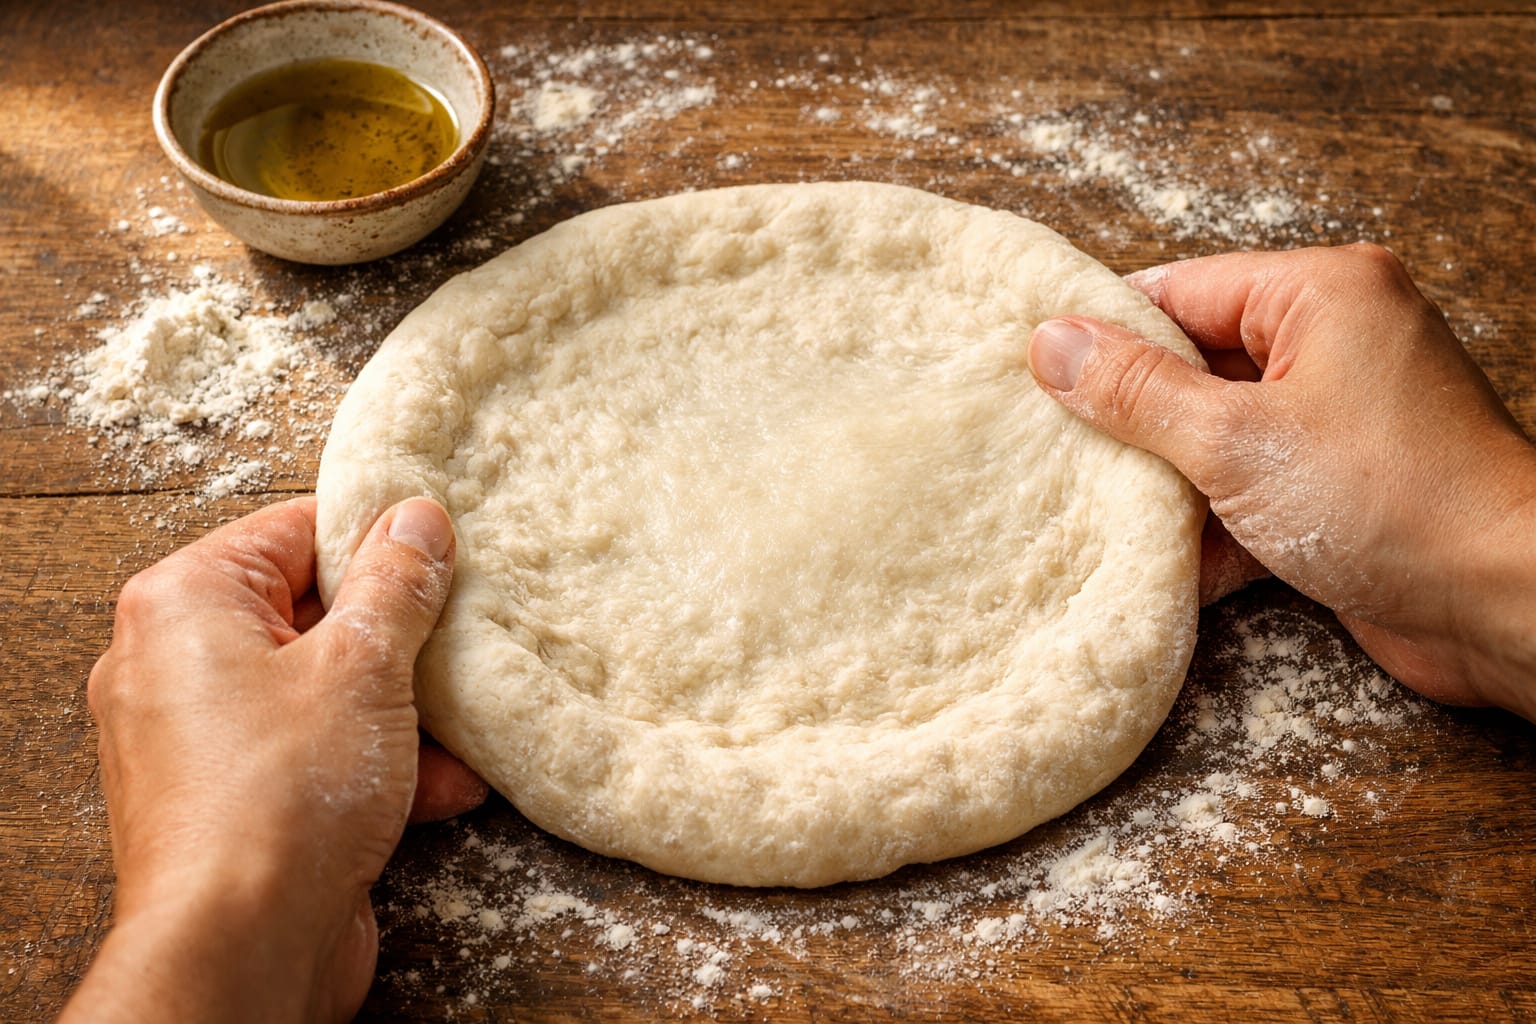
Flatten one dough ball with your palm into a rough disc on a lightly floured surface. Use your fingertips to press the dough outward from the center, working in a circular motion and leaving a slightly thicker edge around the perimeter for the crust. IMO, hand-shaping always produces a better result than a rolling pin, since it preserves the air bubbles in the dough that create those characteristic uneven, airy pockets in the finished crust.
If the dough keeps springing back when you try to stretch it, cover it with a towel and let it rest for another 5 minutes before continuing. Persistent spring-back means the gluten is still too tight and needs a few more minutes to relax rather than more forceful stretching from you.
Step Seven: Top and Bake
Transfer the shaped dough onto a pizza stone, a preheated baking sheet, or a parchment-lined tray. Add your preferred sauce, homemade pizza ideas toppings, and cheese combinations. Bake in a preheated oven at 475°F to 500°F for 10 to 14 minutes, depending on your thickness preference, until the crust looks golden and the cheese bubbles and develops brown spots.
Preheating your oven for a full 30 minutes before baking genuinely matters here. A fully hot oven produces a crispier base than one that’s still reaching temperature when the pizza goes in. If you own a pizza stone, preheat it in the oven too for the most authentic Italian pizza recipe style crust.
Beyond Basic Pizza: What to Do With Pizza Dough
Flatbread and Pizza Bread Recipes
Stretch the dough thin, brush with olive oil and garlic, top with rosemary and flaky salt, and bake for 8 to 10 minutes for a simple flatbread that works as a side dish or appetizer. This is genuinely one of the fastest things to make with pizza dough when you have extra.
Calzones and Stromboli
Fold the dough over a filling of ricotta, mozzarella, and your preferred pizza toppings, seal the edges firmly, and bake at 425°F for 18 to 20 minutes. Calzones are one of the most satisfying pizza dough uses for when you want something more substantial than a flat pizza.
Breadsticks and Garlic Knots
Cut the dough into strips, brush with garlic butter, and bake at 400°F for 12 to 15 minutes for classic garlic breadsticks. Tie small pieces into loose knots before baking for garlic knots that disappear from every table in minutes. These rank among the most crowd-pleasing things to make with pizza dough for parties.
Cinnamon Sugar Dessert Twists
Brush rolled dough strips with melted butter, sprinkle with cinnamon and sugar, twist, and bake at 375°F for 10 to 12 minutes. One of the more unexpected pizza dough ideas, and consistently one that surprises people the most when they find out what the base is.
Bread Flour vs All-Purpose: Which Should You Use?
Have you ever noticed that some homemade pizza crusts have that satisfying chew while others taste more like bready flatbread? Bread flour contains more protein than all-purpose, typically 12 to 14 percent compared to 10 to 12 percent, which creates more gluten and produces a chewier, more structured crust.
All-purpose flour works perfectly well and produces a softer, slightly more tender result. If you want that classic New York style pizza dough chew and stretch, use bread flour. For a softer, more home-baked feel, all-purpose is genuinely fine.
Common Mistakes to Avoid
Water that’s too hot: Anything above 115°F kills the yeast instantly and ruins the entire batch. Always check the temperature before adding the yeast.
Skipping the rest before shaping: Dough that hasn’t rested fights back constantly during shaping. Those 15 minutes make stretching dramatically easier and more satisfying.
Baking at too low a temperature: Pizza dough needs high heat to develop a properly crispy base. Set the oven to its highest available temperature for best results.
Not flouring the work surface enough: Sticky dough tears when you try to transfer it and makes shaping nearly impossible. Use enough flour that the dough slides freely without sticking.

Italian Pizza Dough With Bread Flour From Scratch
2
pizza15
minutes1
hourThis homemade pizza dough combines bread flour, yeast, olive oil, salt, and water into a smooth, elastic dough that rises for one hour before shaping. Baked at high heat, it produces a chewy, crispy-edged crust perfect for pizza, flatbreads, calzones, breadsticks, and any other creative pizza dough use you choose.
Ingredients
For the dough:
1 1/2 cups warm water, around 110°F
2 1/4 teaspoons active dry yeast
1 teaspoon sugar
3 1/2 cups bread flour, plus extra for dusting
1 1/2 teaspoons salt
2 tablespoons olive oil, plus extra for the bowl
Directions
- Combine warm water, sugar, and yeast in a large bowl and let sit for 5 to 10 minutes until foamy
- Add olive oil to the yeast mixture and stir briefly
- Add 3 cups of flour and the salt, stirring until a rough shaggy dough forms
- Add remaining flour gradually until the dough pulls away from the bowl and stops sticking
- Turn out onto a floured surface and knead for 8 to 10 minutes until smooth and elastic
- Shape into a ball, coat lightly with olive oil, and place in a covered bowl
- Let rise in a warm spot for 1 hour until roughly doubled in size
- Punch down the risen dough and divide into 2 or 4 equal pieces
- Shape each piece into a smooth ball and rest uncovered for 15 minutes
- Flatten each ball with your palm and stretch outward from the center using your fingertips
- Transfer to a pizza stone or parchment-lined baking sheet
- Add sauce, toppings, and cheese
- Bake at 475°F to 500°F for 10 to 14 minutes until golden and bubbling
FAQs
Q1: Can I make pizza dough ahead of time?
Yes, refrigerate the dough after the first rise for up to 3 days. A cold, slow rise actually develops more flavor than a same-day rise. Bring to room temperature for 30 minutes before shaping and baking.
Q2: Can I freeze homemade pizza dough?
Yes, freeze individual dough balls after the first rise, tightly wrapped in plastic, for up to 3 months. Thaw overnight in the fridge and bring to room temperature before shaping.
Q3: Why does my dough keep tearing when I stretch it?
Tearing usually means the gluten is too tight, either from under-kneading or not resting long enough before shaping. Let it rest for another 10 minutes and try again with gentler pressure.
Q4: Can I use whole wheat flour instead of bread flour?
Yes, substitute up to half the bread flour with whole wheat flour for a nuttier, slightly denser crust. Replacing all of it produces a very dense result, so stick to a partial swap.
Q5: How thick should I make the pizza dough?
Classic Neapolitan style aims for about 3mm in the center. New York style goes slightly thicker at around 5 to 6mm. Pan pizza sits much thicker at 10 to 15mm. Choose based on your topping load and personal preference.
Q6: What are the best pizza toppings for homemade dough?
Classic combinations like margherita, pepperoni and mozzarella, or sausage with roasted peppers all work brilliantly. The dough can handle heavy toppings better than store-bought bases, so don’t hold back on homemade pizza ideas that use generous amounts of cheese and vegetables.
Wrapping It Up
This pizza dough recipe delivers a genuinely excellent base through proper yeast activation, thorough kneading, a full one-hour rise, and a resting period before shaping. Activate the yeast correctly, knead until smooth and elastic, rise fully, rest before shaping, and bake at maximum heat. Those five habits produce a crust worth making every single week.
Whether you go classic pizza, flatbread, calzone, or garlic knots, this dough handles every direction equally well. Now activate that yeast and stop settling for store-bought bases.