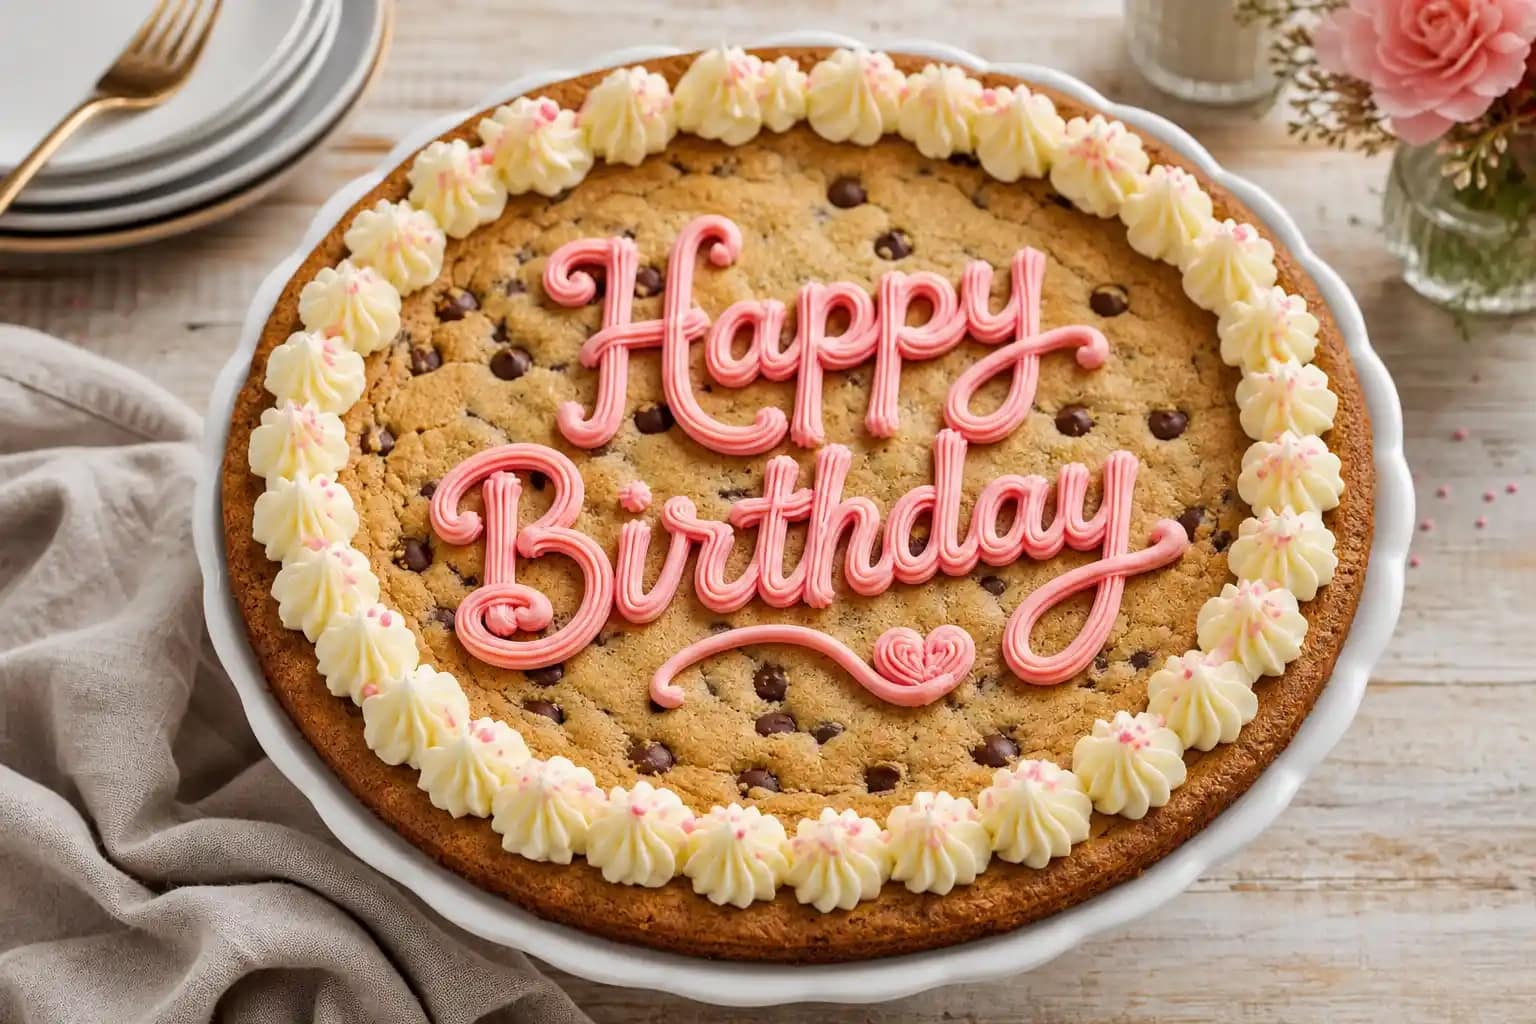
Big Cookie Cake With Buttercream Border Piping
Someone in my family requests a cookie cake instead of a birthday cake every single year. For a long time I drove to the mall to buy one. Then I realized homemade tastes dramatically better and takes about the same amount of time as the round trip. That was the end of the mall visits.
This homemade cookie cake recipe produces a thick, chewy, crispy-edged giant cookie loaded with chocolate chips and finished with piped buttercream frosting that tastes exactly like what you’d get from a copycat Great American Cookie Cake, except fresher, cheaper, and entirely yours to customize. One pan, 40 minutes, and you have the dessert table centerpiece that everyone picks first every time.
What You’ll Need (Ingredients)
Classic chocolate chip cookie ingredients scaled up to fill a full 12-inch round pan.
For the cookie cake:
- 2 1/4 cups all-purpose flour
- 1 teaspoon baking soda
- 1/2 teaspoon salt
- 1 cup unsalted butter, softened
- 3/4 cup granulated sugar
- 3/4 cup packed light brown sugar
- 2 large eggs, room temperature
- 2 teaspoons vanilla extract
- 2 cups semi-sweet chocolate chips
For the buttercream frosting:
- 1 cup unsalted butter, softened
- 3 cups powdered sugar, sifted
- 2 to 3 tablespoons heavy cream
- 1 teaspoon vanilla extract
- pinch of salt
- gel food coloring, as desired
How to Make It — Full Step-by-Step Process
Step One: Prepare the Pan
Preheat your oven to 350°F and grease a 12-inch round pizza pan, cast iron skillet, or springform pan generously with butter or cooking spray. Line the bottom with a parchment paper circle cut to fit and grease the parchment as well. This double-greasing ensures the cookie cake releases cleanly after baking without sticking at any point along the edge.
A 12-inch pizza pan produces a thinner, crispier cookie cake with more edge-to-center ratio, which some people strongly prefer. A 9-inch or 10-inch pan produces a thicker, chewier cookie cake with a softer center. Choose based on your personal preference for the classic big cookie cake experience you want to recreate.
Step Two: Mix the Dry Ingredients
Whisk together 2 1/4 cups of flour, 1 teaspoon of baking soda, and 1/2 teaspoon of salt in a medium bowl and set aside. This brief pre-mixing distributes the baking soda and salt evenly through the flour before the wet ingredients go in, which prevents uneven rising and inconsistent flavor across the finished cookie cake.
Have you ever bitten into a cookie and found one section noticeably saltier than the rest? Unevenly distributed dry ingredients cause that result. It takes 30 seconds to prevent and makes a measurable difference to the consistency of every slice.
Step Three: Cream the Butter and Sugars
Beat 1 cup of softened butter with 3/4 cup of granulated sugar and 3/4 cup of packed brown sugar using a hand mixer or stand mixer on medium speed for 3 to 4 minutes until the mixture looks noticeably pale, light, and fluffy. The extended beating time creates air pockets that expand during baking and produce the soft, slightly cakey interior that defines a proper cookie dough cake texture.
The brown sugar is not interchangeable with more white sugar here. Brown sugar adds moisture from its molasses content and produces a chewier, softer center, while white sugar promotes spread and the slight crispiness at the edges. Both together create the exact balance that makes a great cookie cake.
Step Four: Add Eggs and Vanilla
Add the 2 eggs one at a time to the butter and sugar mixture, beating well for about 30 seconds after each addition until fully incorporated. Mix in 2 teaspoons of vanilla extract. The batter should look smooth, glossy, and slightly thick at this stage without any visible streaks of unincorporated butter.
FYI, room temperature eggs incorporate much more smoothly than cold eggs straight from the fridge. Cold eggs cause the butter to firm up slightly in the batter and create a slightly lumpy mixture that never fully smooths out before baking.
Step Five: Fold In the Dry Ingredients and Chocolate Chips
Add the dry flour mixture to the butter and egg mixture in two additions, mixing on low speed just until the flour disappears into the dough after each addition. Overmixing at this stage develops excess gluten and produces a tough, dense cookie cake rather than the tender, chewy result you want. Stop mixing the moment no dry streaks remain visible.
Fold in 2 cups of semi-sweet chocolate chips by hand using a spatula, distributing them evenly throughout the dough. Reserve a small handful to press onto the top surface of the dough after spreading for that visible, loaded-with-chips appearance that makes a chocolate chip cake recipe look as good as it tastes.
Step Six: Press Dough Into the Pan
Transfer the cookie dough into the prepared pan and spread it evenly using slightly damp hands or an offset spatula, pressing it out to the edges in an even layer. Damp hands prevent the dough from sticking to your fingers during spreading and make this process noticeably easier than working with dry hands.
The layer should look uniform in thickness across the entire pan with no thick center mound or thin edges, since uneven thickness produces uneven baking with overcooked edges and an undercooked center. Press the reserved chocolate chips across the top surface after spreading for a professional, bakery-style appearance.
Step Seven: Bake to Perfect Doneness
Bake at 350°F for 20 to 24 minutes until the edges look golden-brown and set while the center still looks very slightly underdone with a pale, matte surface rather than a glossy wet one. This is the most important timing judgment in the entire recipe, since the cookie cake continues cooking from residual heat for several minutes after leaving the oven.
Pulling it at the exact right moment produces a crispy edge and a chewy, soft center. Waiting until the center looks fully done in the oven produces a dry, overbaked cookie cake that loses its appeal entirely. When in doubt, pull it 2 minutes early rather than risk overbaking.
Step Eight: Cool Completely Before Frosting
Let the cookie cake cool in the pan for 15 minutes, then carefully transfer it to a wire rack to cool completely, which takes about 30 to 45 more minutes. Frosting a warm cookie cake melts the buttercream instantly and produces a messy, sliding finish rather than the clean, piped decoration that makes a birthday cookie cake look genuinely impressive.
IMO, this cooling patience is the hardest part of the entire recipe, especially when the kitchen smells like fresh chocolate chip cookies and everyone starts asking when it will be ready. Use the time to make the frosting so everything is ready at once.
Step Nine: Make the Buttercream and Decorate
Beat 1 cup of softened butter on medium speed for 2 minutes until smooth and creamy. Add 3 cups of sifted powdered sugar gradually, about 1 cup at a time, beating between each addition. Add 2 to 3 tablespoons of heavy cream, 1 teaspoon of vanilla extract, and a pinch of salt, then beat on medium-high for 2 minutes until the frosting looks light, fluffy, and easily pipeable.
Divide into portions and color with gel food coloring as desired. Transfer to piping bags fitted with large star tips for classic cookie cake ideas border decoration, or write a message across the center using a round tip. Pipe a decorative border around the outer edge and any writing or designs in the center, then serve directly or refrigerate until ready.
Cookie Cake Variations
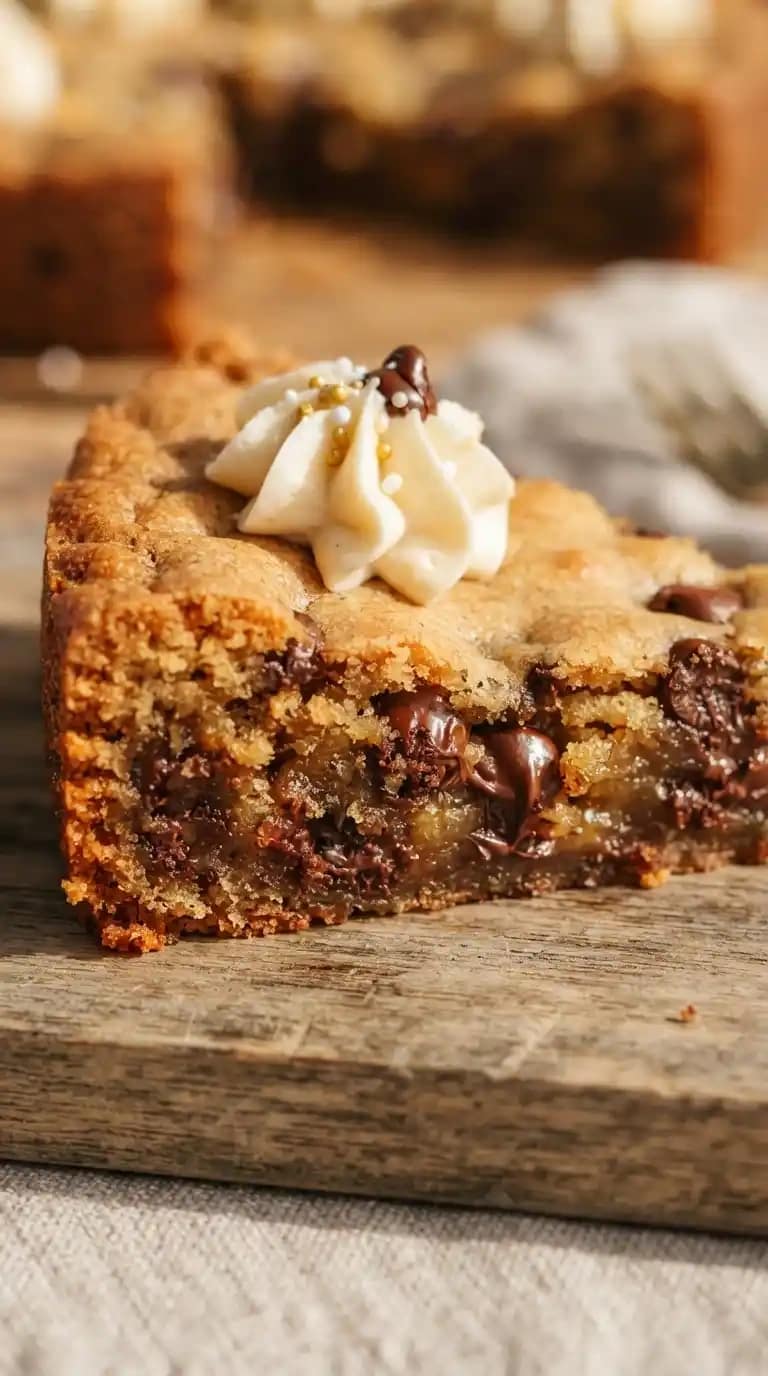
Oreo Cookie Cake
Fold 1 cup of crushed Oreos into the dough in place of half the chocolate chips for an Oreo cookie cake version that tastes like a cookies-and-cream bar in giant form. Crush them roughly rather than finely so visible Oreo pieces remain throughout the finished cake.
Double Chocolate Version
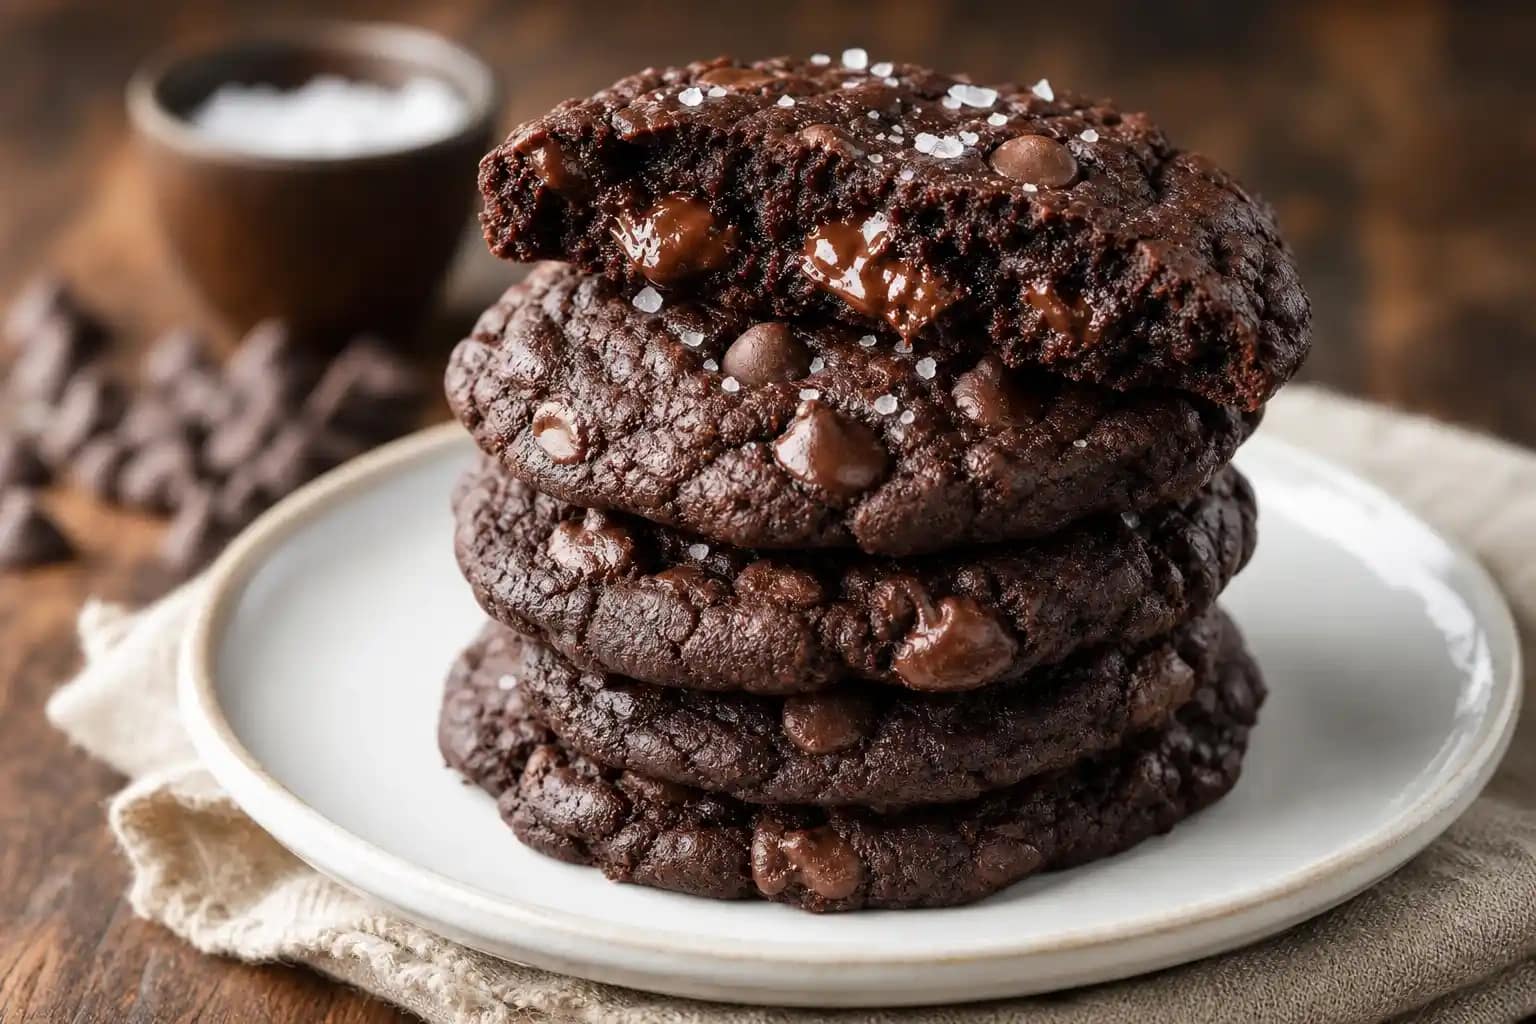
Replace 1/4 cup of the flour with 1/4 cup of unsweetened cocoa powder and use dark chocolate chips instead of semi-sweet for a double chocolate cookie cake that leans into intense chocolate territory. Top with white chocolate buttercream for a dramatic visual contrast.
M&M Cookie Cake
Swap the chocolate chips for 1 1/2 cups of M&Ms for a colorful, festive birthday cookie cake that kids go absolutely wild for. Press extra M&Ms across the top before baking for maximum visual impact and color across the surface.
Common Mistakes to Avoid
Overbaking: The single most common cookie cake mistake. Pull it when the center still looks slightly underdone since it sets completely during cooling.
Not cooling before frosting: Warm cookie cake melts buttercream instantly. Always cool completely to room temperature before piping any decoration.
Spreading dough unevenly: A thick center and thin edges produce uneven baking with no reliable timing. Take the extra minute to spread as evenly as possible.
Using cold butter for the frosting: Cold butter produces a lumpy, unworkable frosting that doesn’t pipe cleanly. Always start with genuinely softened butter.
FAQs
Q1: How do I know when a cookie cake is done baking?
The edges should look golden-brown and feel set when you press them lightly, while the center still looks pale and slightly underdone. It will set to the correct texture during the 15-minute cooling period in the pan.
Q2: Can I make this in a 9-inch round pan?
Yes, reduce the baking time to 18 to 20 minutes since the thicker layer takes slightly less time than a larger, thinner spread. Check for golden edges and a pale center using the same doneness cues.
Q3: How far ahead can I make a cookie cake?
Bake up to 2 days ahead and store unfrosted at room temperature tightly wrapped. Add frosting decoration the morning of serving for the freshest appearance. Decorated cakes keep well at room temperature for up to 24 hours.
Q4: Can I freeze a cookie cake?
Freeze the unfrosted baked cookie cake tightly wrapped for up to 2 months. Thaw at room temperature for 2 hours, then decorate before serving. Avoid freezing after frosting since buttercream texture changes after thawing.
Q5: What’s the best way to cut and serve cookie cake?
Use a large, sharp knife warmed under hot water and dried between cuts for the cleanest slices. Serve at room temperature rather than cold for the softest, chewiest texture.
Q6: Can I use store-bought frosting instead of homemade buttercream?
Yes, though homemade buttercream pipes significantly more cleanly and holds its shape much better than most store-bought versions, which tend to be softer and less stable at room temperature. The 10-minute effort genuinely pays off here.

Big Cookie Cake With Buttercream Border Piping
12
servings15
minutes22
minutesThis giant cookie cake presses classic chocolate chip cookie dough into a 12-inch round pan and bakes until golden at the edges but still slightly soft in the center, then cools completely before decorating with piped vanilla buttercream. Ready in 40 minutes, it delivers a better-than-mall-bakery birthday cookie cake every time.
Ingredients
For the cookie cake:
2 1/4 cups all-purpose flour
1 teaspoon baking soda
1/2 teaspoon salt
1 cup unsalted butter, softened
3/4 cup granulated sugar
3/4 cup packed light brown sugar
2 large eggs, room temperature
2 teaspoons vanilla extract
2 cups semi-sweet chocolate chips
For the buttercream frosting:
1 cup unsalted butter, softened
3 cups powdered sugar, sifted
2 to 3 tablespoons heavy cream
1 teaspoon vanilla extract
pinch of salt
gel food coloring as desired
Directions
- Preheat oven to 350°F and grease a 12-inch round pan with butter and line with parchment
- Whisk together flour, baking soda, and salt in a bowl and set aside
- Beat softened butter with granulated sugar and brown sugar for 3 to 4 minutes until pale and fluffy
- Add eggs one at a time, beating for 30 seconds after each, then mix in vanilla
- Add the dry flour mixture in two additions, mixing on low until just combined
- Fold in chocolate chips by hand using a spatula, reserving a handful for the top
- Transfer dough to the prepared pan and spread evenly using damp hands or an offset spatula
- Press reserved chocolate chips across the top surface
- Bake for 20 to 24 minutes until edges are golden and center looks slightly underdone
- Cool in the pan for 15 minutes, then transfer to a wire rack to cool completely
- Beat softened butter for 2 minutes until smooth
- Add sifted powdered sugar gradually and beat until combined
- Add heavy cream, vanilla, and salt and beat on medium-high for 2 minutes until fluffy
- Divide frosting and color with gel food coloring as desired
- Transfer to piping bags and decorate the cooled cookie cake with borders and writing
- Serve at room temperature for the best chewy texture
Wrapping It Up
This homemade cookie cake recipe delivers a genuinely crowd-pleasing birthday cookie cake through proper butter and sugar creaming, careful fold-in mixing, even pan spreading, and pulling the cake at exactly the right moment before the center looks fully done. Cream the butter fully, don’t overmix after adding flour, spread evenly, pull early, cool completely, and pipe the buttercream. Those habits produce a perfect result every time.
Whether you keep it classic with chocolate chips, try the Oreo version, or load it with M&Ms for a festive celebration, this recipe consistently earns its reputation. Now preheat that oven and start creaming.