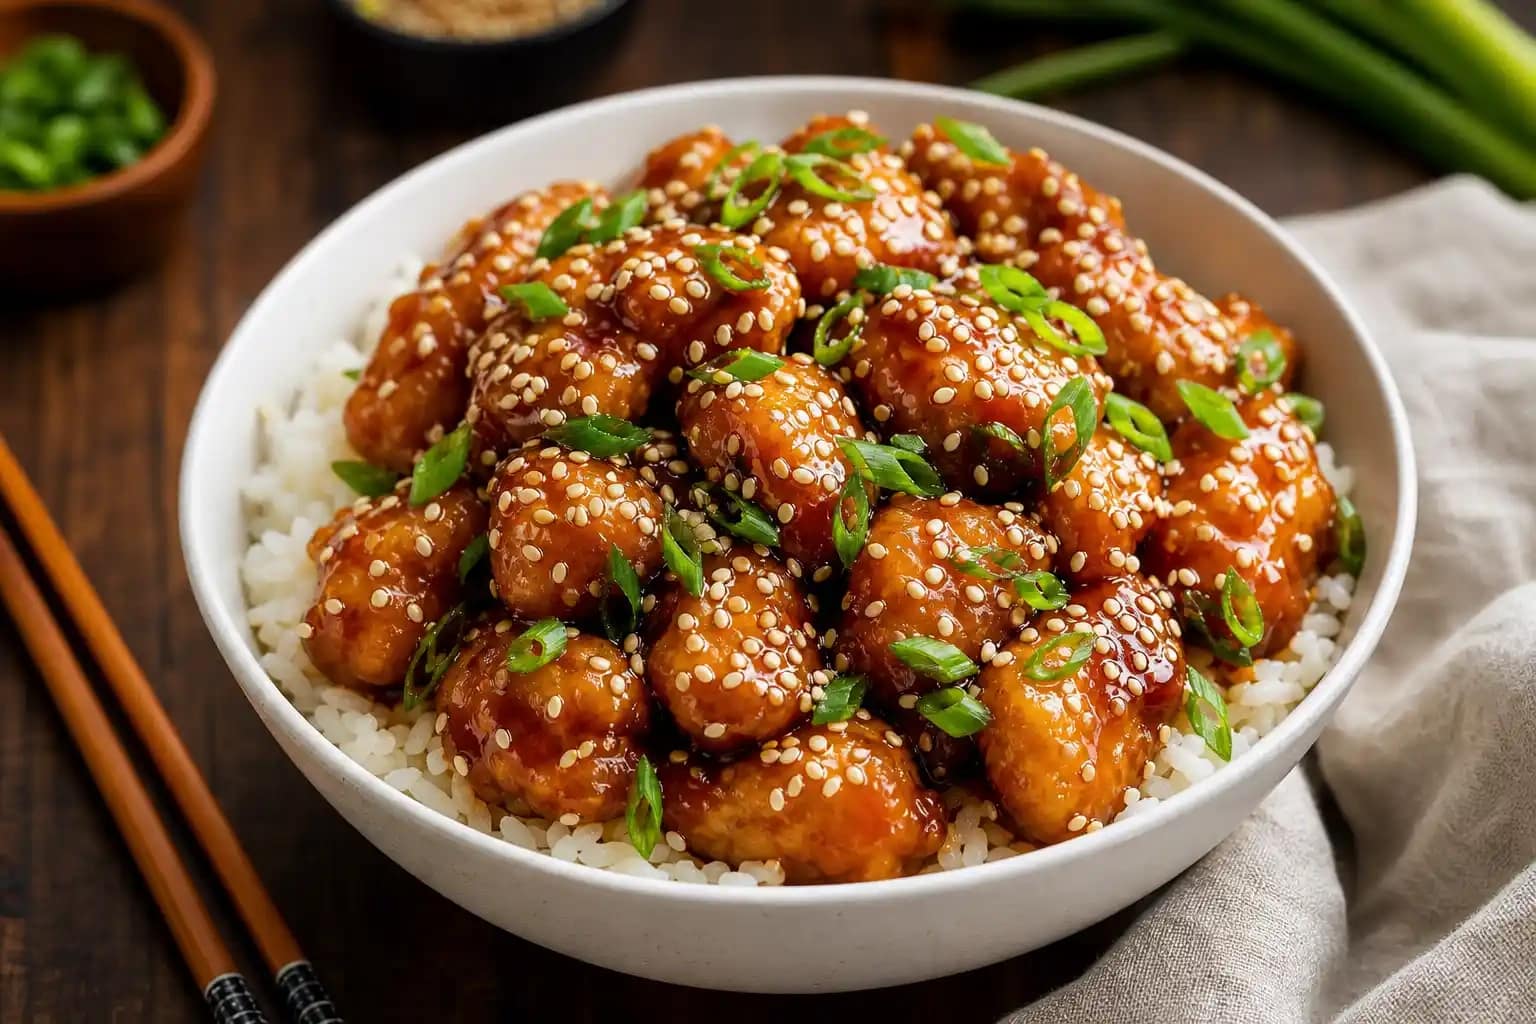
Healthy Sesame Chicken Baked Instead of Fried
Sesame chicken was my most-ordered takeout item for years. Then I made it at home once and genuinely couldn’t justify the delivery fee anymore. Same crispy chicken, same glossy sauce, significantly less waiting and significantly more of it.
This homemade sesame chicken recipe produces crispy, golden chicken pieces coated in a rich, sweet-savory sesame sauce that clings perfectly to every piece. It takes 35 minutes, uses one pan for the sauce and one for frying, and tastes noticeably fresher and more balanced than restaurant versions that can swing too sweet or too salty depending on the day.
What You’ll Need (Ingredients)
Two components, both straightforward, both worth doing from scratch rather than reaching for a bottle.
For the crispy chicken:
- 1 1/2 pounds boneless skinless chicken thighs or breasts, cut into 1-inch pieces
- 1/2 cup cornstarch
- 1/4 cup all-purpose flour
- 1/2 teaspoon salt
- 1/4 teaspoon black pepper
- 1/4 teaspoon garlic powder
- 2 large eggs, beaten
- vegetable oil for frying, about 1 1/2 cups
For the sesame chicken sauce:
- 3 tablespoons soy sauce
- 2 tablespoons honey
- 2 tablespoons brown sugar
- 2 tablespoons rice vinegar
- 1 tablespoon sesame oil
- 1 tablespoon hoisin sauce
- 2 cloves garlic, minced
- 1 teaspoon fresh ginger, grated
- 1 teaspoon cornstarch mixed with 2 tablespoons cold water
- 2 tablespoons toasted sesame seeds
- 2 green onions, thinly sliced, for garnish
How to Make It — Full Step-by-Step Process
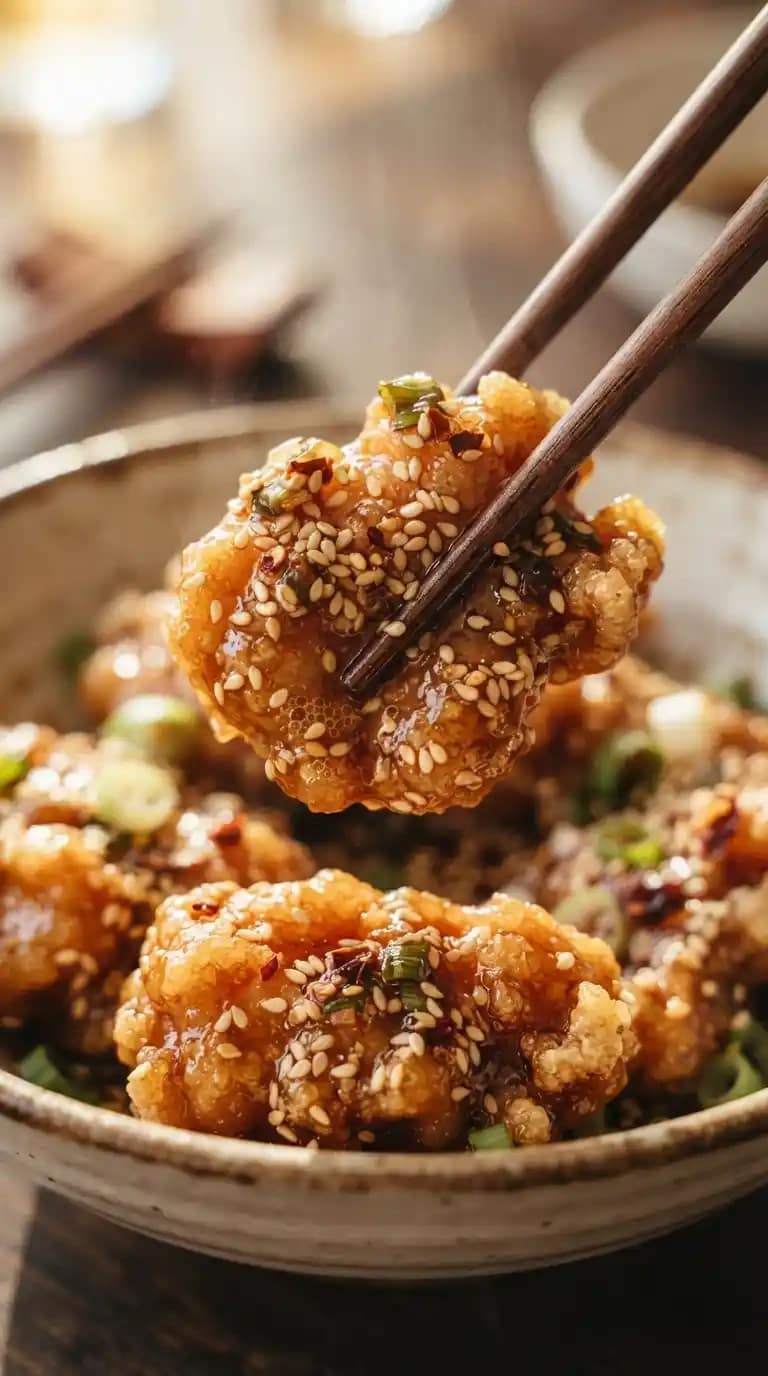
Step One: Build the Sesame Sauce First
Combine 3 tablespoons of soy sauce, 2 tablespoons of honey, 2 tablespoons of brown sugar, 2 tablespoons of rice vinegar, 1 tablespoon of sesame oil, and 1 tablespoon of hoisin sauce in a small bowl. Add the minced garlic and grated ginger and whisk everything together until fully combined.
Making the sesame chicken sauce before starting the chicken means you can move quickly once frying begins, since sauce prep during active frying creates timing problems and usually results in either overcooked chicken or undercooked sauce. Set the sauce mixture and the cornstarch slurry aside within arm’s reach of the stove.
Step Two: Prepare the Chicken
Pat the chicken pieces completely dry with paper towels before coating them in anything. This is one of those steps that sounds unnecessary until you skip it once and end up with pale, soft chicken that never quite crisps properly. Surface moisture turns to steam in hot oil and prevents the coating from making proper contact with the heat.
Mix 1/2 cup of cornstarch, 1/4 cup of flour, 1/2 teaspoon of salt, 1/4 teaspoon of black pepper, and 1/4 teaspoon of garlic powder together in a wide, shallow bowl. Whisk the 2 eggs in a separate bowl. This egg and cornstarch-flour system creates a double-layer coating that produces genuinely crispy sesame chicken rather than a thin, soft exterior that softens the moment sauce touches it.
Step Three: Coat the Chicken Pieces
Dip each chicken piece into the beaten egg first, letting the excess drip off briefly, then press it into the cornstarch-flour mixture on all sides. Make sure every surface gets fully coated, including any irregular edges where the coating tends to miss. Set each coated piece on a plate or wire rack as you go.
Let the coated pieces rest for 3 to 5 minutes before frying. Have you ever coated chicken and watched the entire crust slide off into the oil within the first minute of cooking? That happens when the coating hasn’t had a moment to hydrate and grip the surface. This brief rest makes a meaningful difference to how the crust holds during frying.
Step Four: Fry the Chicken in Batches
Pour about 1 1/2 cups of vegetable oil into a large skillet or wok and heat it to 350°F over medium-high heat. FYI, a candy or deep-fry thermometer makes this genuinely easy to get right every time rather than guessing by feel. Oil at the right temperature crisps the coating immediately on contact without absorbing into it.
Lower the coated chicken pieces into the hot oil in batches of 6 to 8 pieces, leaving space between each one. Cook for 3 to 4 minutes, turning once halfway through, until the coating looks deep golden-brown on all sides and the chicken is cooked through. Transfer to a wire rack to drain while you fry the remaining batches.
Step Five: Keep Finished Batches Warm
Place the wire rack with finished chicken pieces into a 250°F oven while you complete the remaining batches. This keeps the early batches warm and maintains their crispiness without continuing to cook them through. Don’t stack the cooked pieces on top of each other since the weight and steam from multiple pieces touching causes the bottom ones to soften quickly.
Work through all the chicken in batches, maintaining the oil temperature between each addition by adjusting the burner as needed. Letting the oil recover to 350°F between batches ensures each piece fries at the right temperature rather than steaming in oil that’s dropped too low from the cold chicken contact.
Step Six: Make the Sesame Sauce
Pour the prepared sauce mixture into a medium saucepan or the same skillet used for frying after draining most of the oil and wiping it briefly with a paper towel. Heat over medium heat, stirring occasionally, until the mixture comes to a gentle simmer, which takes about 2 to 3 minutes.
Stir the cornstarch slurry briefly to recombine it, then pour it into the simmering sauce while stirring continuously. Cook for 1 to 2 minutes until the sauce thickens noticeably and looks glossy and coating rather than watery. The finished sauce should coat the back of a spoon and hold its shape briefly when you drag a line through it with your finger.
Step Seven: Toss and Serve
Add all the crispy chicken pieces to the thickened sesame sauce and toss using tongs until every piece is completely coated. Work quickly, since the coating absorbs moisture from the sauce and softens if it sits in the sauce for longer than a minute or two before serving.
Serve immediately over steamed white or brown rice with 2 tablespoons of toasted sesame seeds scattered over the top and sliced green onions across the surface. IMO, the sesame seeds aren’t just decorative here, since their nutty crunch adds a textural element against the sticky sauce that genuinely improves every bite.
Sauce Variations Worth Making
Spicier Sesame Sauce
Add 1 tablespoon of chili garlic sauce or gochujang to the sauce mixture for a spicier version that balances the sweetness with genuine heat. The spicy sesame combination works particularly well over brown rice with steamed broccoli added to the pan during the last minute.
Healthy Sesame Chicken Version
For a healthy sesame chicken approach, bake the coated chicken pieces on a greased wire rack at 425°F for 20 to 22 minutes, flipping once halfway through, then toss with the sauce. The coating won’t be quite as crunchy as the fried version but still delivers a satisfying texture with significantly less oil.
Crockpot Sesame Chicken
For a hands-off weeknight version, add raw chicken pieces directly to a slow cooker with all the sauce ingredients except the cornstarch slurry. Cook on low for 3 to 4 hours, then add the slurry during the final 20 minutes to thicken. This crockpot sesame chicken method produces a softer, braised texture rather than crispy but works brilliantly for meal prep and busy evenings.
Sesame Ground Chicken
Swap the chicken pieces for 1 pound of ground chicken browned in a skillet for a sesame ground chicken version that comes together in under 15 minutes. Toss the cooked ground chicken in the same sauce and serve over rice for a weeknight dinner that tastes similar and requires almost no active prep.
Common Mistakes to Avoid
Not drying the chicken before coating: Wet chicken prevents the coating from crisping and causes the crust to slide off in the oil. Pat every piece completely dry first.
Overcrowding the oil: Too many pieces at once drops the temperature dramatically and produces pale, greasy chicken instead of golden, crispy pieces. Always work in small batches.
Adding the sauce slurry to cold sauce: Cornstarch only activates and thickens when added to a liquid that’s already simmering. Bring the sauce to a simmer first before adding the slurry.
Tossing too early or waiting too long: Tossing before the sauce thickens produces watery-coated chicken, while waiting more than 2 minutes after tossing softens the crust. Toss and serve immediately.

Healthy Sesame Chicken Baked Instead of Fried
4
servings15
minutes20
minutesThis homemade sesame chicken combines egg-and-cornstarch-coated fried chicken pieces tossed in a sweet, sticky sesame sauce made from soy sauce, honey, brown sugar, sesame oil, garlic, and ginger, thickened with a cornstarch slurry. Ready in 35 minutes and served over steamed rice with sesame seeds, it delivers better-than-takeout results at home.
Ingredients
For the crispy chicken:
1 1/2 pounds boneless skinless chicken thighs or breasts, cut into 1-inch pieces
1/2 cup cornstarch
1/4 cup all-purpose flour
1/2 teaspoon salt
1/4 teaspoon black pepper
1/4 teaspoon garlic powder
2 large eggs, beaten
vegetable oil for frying
For the sesame chicken sauce:
3 tablespoons soy sauce
2 tablespoons honey
2 tablespoons brown sugar
2 tablespoons rice vinegar
1 tablespoon sesame oil
1 tablespoon hoisin sauce
2 cloves garlic, minced
1 teaspoon fresh ginger, grated
1 teaspoon cornstarch mixed with 2 tablespoons cold water
2 tablespoons toasted sesame seeds
2 green onions, sliced, for garnish
Directions
- Whisk together soy sauce, honey, brown sugar, rice vinegar, sesame oil, hoisin, garlic, and ginger and set aside
- Mix cornstarch slurry separately and set aside near the stove
- Pat chicken pieces completely dry with paper towels
- Mix cornstarch, flour, salt, pepper, and garlic powder in a shallow bowl
- Beat eggs in a separate bowl
- Dip each chicken piece in egg then press into the cornstarch-flour mixture on all sides
- Let coated pieces rest for 3 to 5 minutes
- Heat vegetable oil to 350°F in a large skillet or wok
- Fry chicken in batches of 6 to 8 pieces for 3 to 4 minutes per batch, turning once, until deep golden
- Transfer to a wire rack and keep warm in a 250°F oven
- Pour prepared sauce mixture into a saucepan over medium heat and bring to a gentle simmer
- Stir the cornstarch slurry and pour into the simmering sauce while stirring
- Cook for 1 to 2 minutes until the sauce thickens and looks glossy
- Add all chicken to the sauce and toss immediately until fully coated
- Serve over steamed rice with sesame seeds and green onions on top
FAQs
Q1: Can I use chicken breasts instead of thighs?
Yes, chicken breasts work as Asian chicken breast recipes go, though thighs stay juicier during the frying process due to their higher fat content. Cut breasts into slightly smaller pieces than thighs to help them cook through in the same frying time.
Q2: What’s the difference between sesame chicken and General Tso’s chicken?
Both use crispy fried chicken in a sweet-savory sauce, but General Tso’s is noticeably spicier and uses dried chili peppers as a key component. Sesame chicken leans sweeter and milder with sesame oil and seeds as the dominant flavor note.
Q3: Can I make this easy sesame chicken gluten-free?
Substitute tamari or coconut aminos for the soy sauce and use rice flour instead of all-purpose flour in the coating. The result is nearly identical in flavor and crunch level with all gluten-containing ingredients replaced.
Q4: How do I store and reheat leftover sesame chicken?
Store the chicken and sauce separately in the fridge for the best results. Reheat the chicken in a 375°F oven for 8 minutes to restore crispiness, then warm the sauce separately and toss just before serving. Microwave reheating makes the coating soft.
Q5: What sides work best with sesame chicken?
Steamed jasmine rice, fried rice, steamed or stir-fried broccoli, snap peas, and edamame all pair well as easy Asian chicken recipes accompaniments. Adding a simple cucumber salad dressed with rice vinegar and sesame oil also provides a fresh, cooling contrast to the rich sauce.
Q6: Can I make the sauce ahead of time?
Yes, make and refrigerate the sauce for up to 5 days before using. Reheat gently in a saucepan and add the cornstarch slurry fresh when ready to thicken, since the slurry doesn’t hold well in pre-made sauce.
Wrapping It Up
This easy sesame chicken recipe delivers genuinely restaurant-quality crispy chicken and sticky sesame sauce through dry chicken, a double-layer cornstarch and flour coating, batch frying at 350°F, and tossing with sauce immediately before serving. Dry the chicken, coat it properly, maintain oil temperature, thicken the sauce before tossing, and serve right away. Those habits produce a perfect result every single time.
Whether you make it crispy and fried, bake it lighter, or throw everything in the crockpot for a hands-off version, this dish earns its regular spot on any weeknight menu. Now put down that takeout menu and heat that oil.