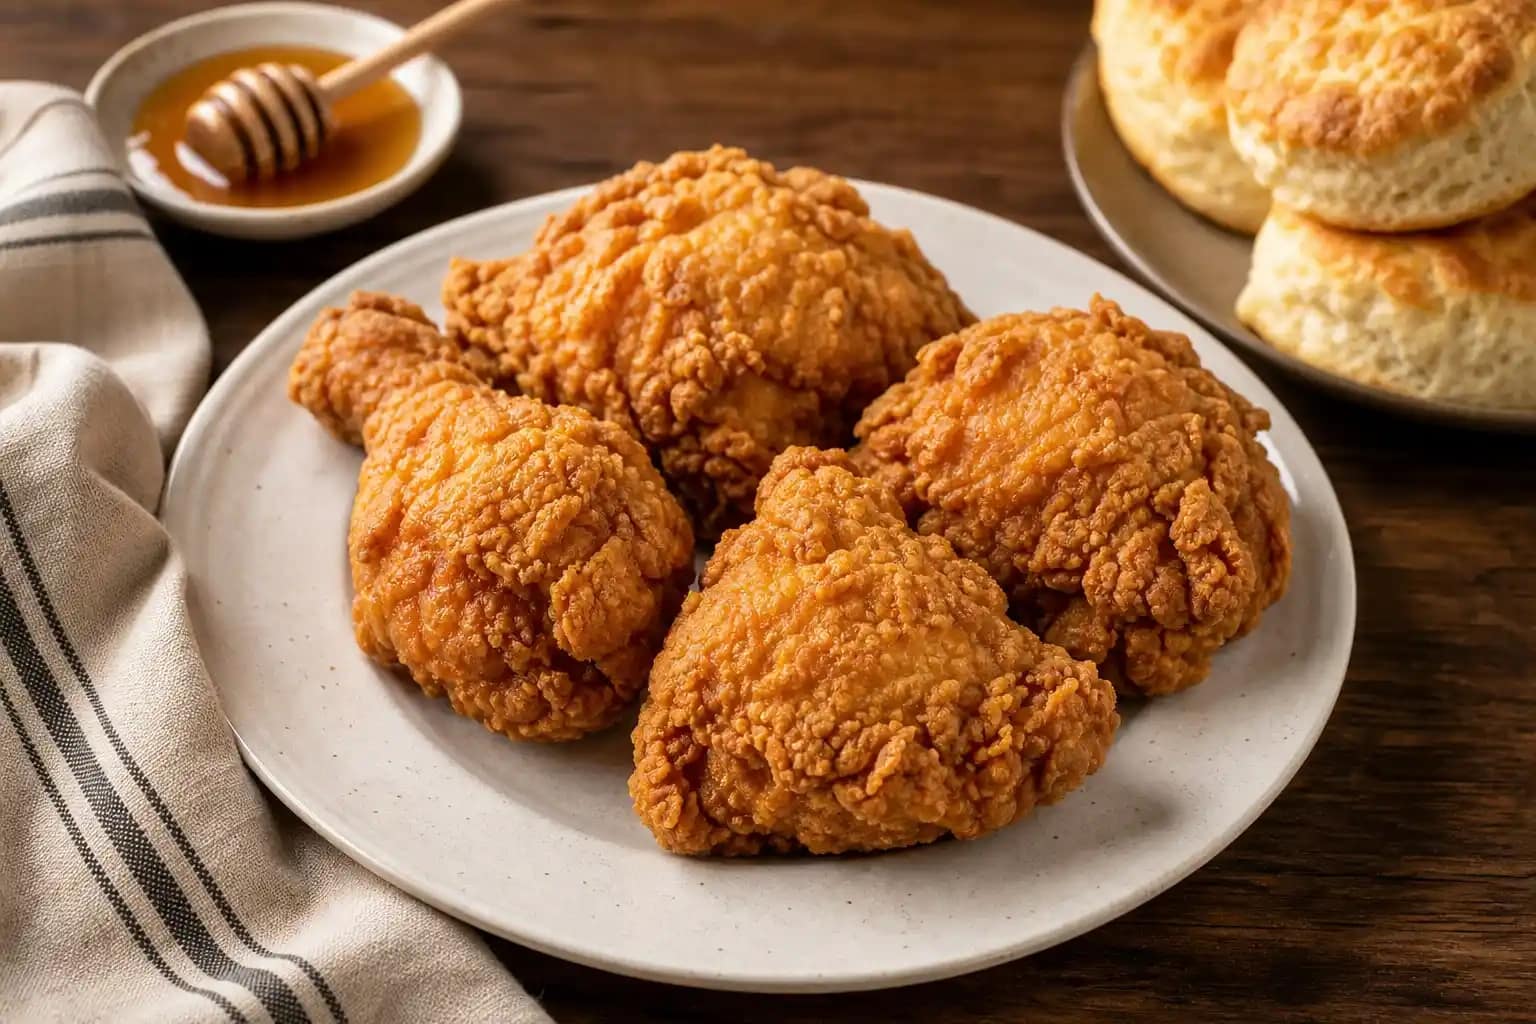
Juicy Fried Chicken With a Crunchy Cornstarch Crust
I spent years convinced that genuinely good fried chicken required commercial equipment or some kind of secret Southern knowledge passed down through generations. Then I tried brining first, and the whole thing clicked immediately.
This easy fried chicken recipe produces deeply seasoned, genuinely juicy chicken inside a crust that stays crispy for longer than you’d think possible from a home kitchen. The buttermilk brine, the double-dredge, and the oil temperature control together produce results that rival any Popeyes chicken recipe comparison people keep making online. You just have to follow the process patiently.
What You’ll Need (Ingredients)
Two stages here, the brine and the coating, both equally important to the final result.
For the buttermilk brine:
- 3 pounds bone-in chicken pieces, thighs, drumsticks, and breast halves
- 2 cups buttermilk
- 1 tablespoon hot sauce
- 1 teaspoon salt
- 1 teaspoon garlic powder
- 1/2 teaspoon black pepper
Seasoned flour coating:
- 2 cups all-purpose flour
- 1/2 cup cornstarch
- 2 teaspoons salt
- 1 teaspoon black pepper
- 1 teaspoon garlic powder
- 1 teaspoon onion powder
- 1 teaspoon smoked paprika
- 1 teaspoon cayenne pepper
- 1 teaspoon dried thyme
- 1/2 teaspoon dried oregano
For frying:
- vegetable oil or peanut oil, enough to fill your pot 3 inches deep
How to Make It — Full Step-by-Step Process
Step One: Brine the Chicken
Combine 2 cups of buttermilk, 1 tablespoon of hot sauce, 1 teaspoon of salt, 1 teaspoon of garlic powder, and 1/2 teaspoon of black pepper in a large bowl or zip-lock bag. Add the 3 pounds of bone-in chicken pieces, making sure every piece gets completely submerged in the brine mixture.
Seal and refrigerate for a minimum of 4 hours, though overnight produces significantly better results. The buttermilk works on two levels simultaneously: the lactic acid tenderizes the muscle fibers of the chicken while the liquid carries salt deep into the meat for thorough seasoning from the inside out rather than just on the surface.
Step Two: Make the Seasoned Flour Mixture
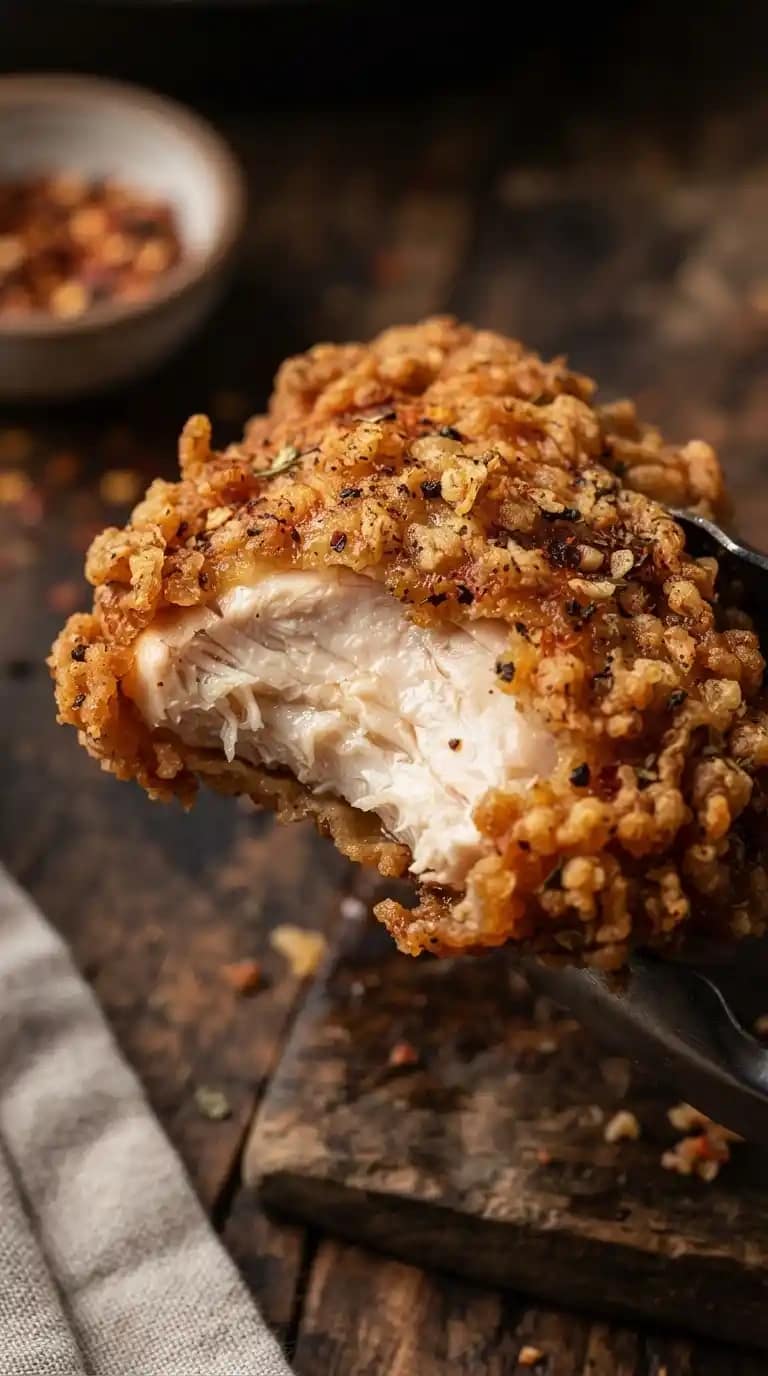
Whisk together 2 cups of flour, 1/2 cup of cornstarch, 2 teaspoons of salt, 1 teaspoon each of black pepper, garlic powder, onion powder, smoked paprika, cayenne, and dried thyme, and 1/2 teaspoon of dried oregano in a wide, shallow dish or large zip-lock bag. The cornstarch addition is what makes the difference between a coating that goes soft after ten minutes and a crispy chicken recipe that holds its crunch through a full meal.
Have you ever wondered why restaurant fried chicken stays crispier than homemade versions? Cornstarch combined with flour creates a lighter, crisper crust than flour alone because cornstarch inhibits gluten formation and produces a more delicate, shattering texture rather than a thick, bready one.
Step Three: Double-Dredge for Maximum Crunch
Remove one piece of chicken from the brine and let the excess buttermilk drip off for about 3 seconds, but don’t shake it completely dry. The remaining buttermilk clinging to the surface helps the flour coating adhere and also creates the characteristic craggly, textured surface that maximizes crunch.
Drop the piece into the seasoned flour mixture and press firmly on all sides, making sure the coating covers every inch of surface area including around the bone. Shake off the excess, then dip briefly back into the remaining brine in the bowl, let the excess drip off again, and dredge in the flour a second time. This double-dredge creates a thicker, more substantial crust with more surface texture for crisping than a single coat produces.
Step Four: Rest the Coated Chicken
Place the double-dredged pieces on a wire rack set over a baking sheet and let them rest at room temperature for 15 to 20 minutes before frying. This resting period allows the coating to hydrate slightly and adhere firmly to the chicken surface, which reduces the chance of the crust separating from the meat during frying.
FYI, this rest is one of the most commonly skipped steps in deep fried chicken recipes, and it’s also one of the most impactful ones. Pieces that go directly from dredging into hot oil are more likely to drop their coating in the first 30 seconds of frying than rested pieces.
Step Five: Heat the Oil to the Right Temperature
Pour vegetable or peanut oil into a large Dutch oven, deep skillet, or pot until it reaches about 3 inches deep. Heat the oil over medium-high heat to 350°F before adding any chicken. An accurate deep fry or candy thermometer makes this measurable rather than guessable, and oil temperature is the single most important variable in this entire recipe.
Oil below 325°F produces greasy, soft chicken since the coating absorbs oil rather than crisping. Oil above 375°F burns the exterior before the interior cooks through. 350°F holds the sweet spot where the coating crisps immediately on contact and the chicken cooks through completely before the crust overbrowns.
Step Six: Fry in Batches
Carefully lower 2 to 3 pieces of chicken into the hot oil using tongs, placing them gently away from your body to avoid hot oil splashing. Never drop chicken from height, since the splash risk increases dramatically. Work in small batches rather than adding all the pieces at once.
Overcrowding drops the oil temperature immediately and causes uneven cooking with pale, soft patches across the coating. Adding 2 to 3 pieces at a time allows the oil temperature to recover quickly between additions and keeps every piece frying actively rather than steaming in crowded oil. Adjust the burner between batches to maintain 350°F throughout.
Step Seven: Fry to Doneness
Fry dark meat pieces, thighs and drumsticks, for 14 to 16 minutes total, turning every 4 to 5 minutes for even browning on all sides. Fry white meat pieces, breasts, for 10 to 12 minutes using the same turning schedule. The coating should look deep, evenly golden-brown across the entire surface when done.
Use an instant-read thermometer to check the internal temperature of the thickest part of each piece, avoiding the bone. The chicken is fully cooked when it reads 165°F. Have you ever cut into what looked like perfectly cooked fried chicken and found pink near the bone? A thermometer solves this problem completely.
Step Eight: Drain and Rest
Transfer finished pieces to a wire rack set over a paper towel-lined baking sheet rather than placing them directly on paper towels. The wire rack allows air to circulate around the entire piece, keeping the underside as crispy as the top during the resting period. Direct contact with paper towels traps steam and softens the bottom crust within minutes.
Let the pieces rest for 5 minutes before serving. This rest allows the internal juices to redistribute throughout the meat rather than running out immediately when cut, which produces noticeably juicier chicken in every bite of the finished fried chicken dinner.
Wet Batter Fried Chicken Variation
How It Differs From the Dry Dredge
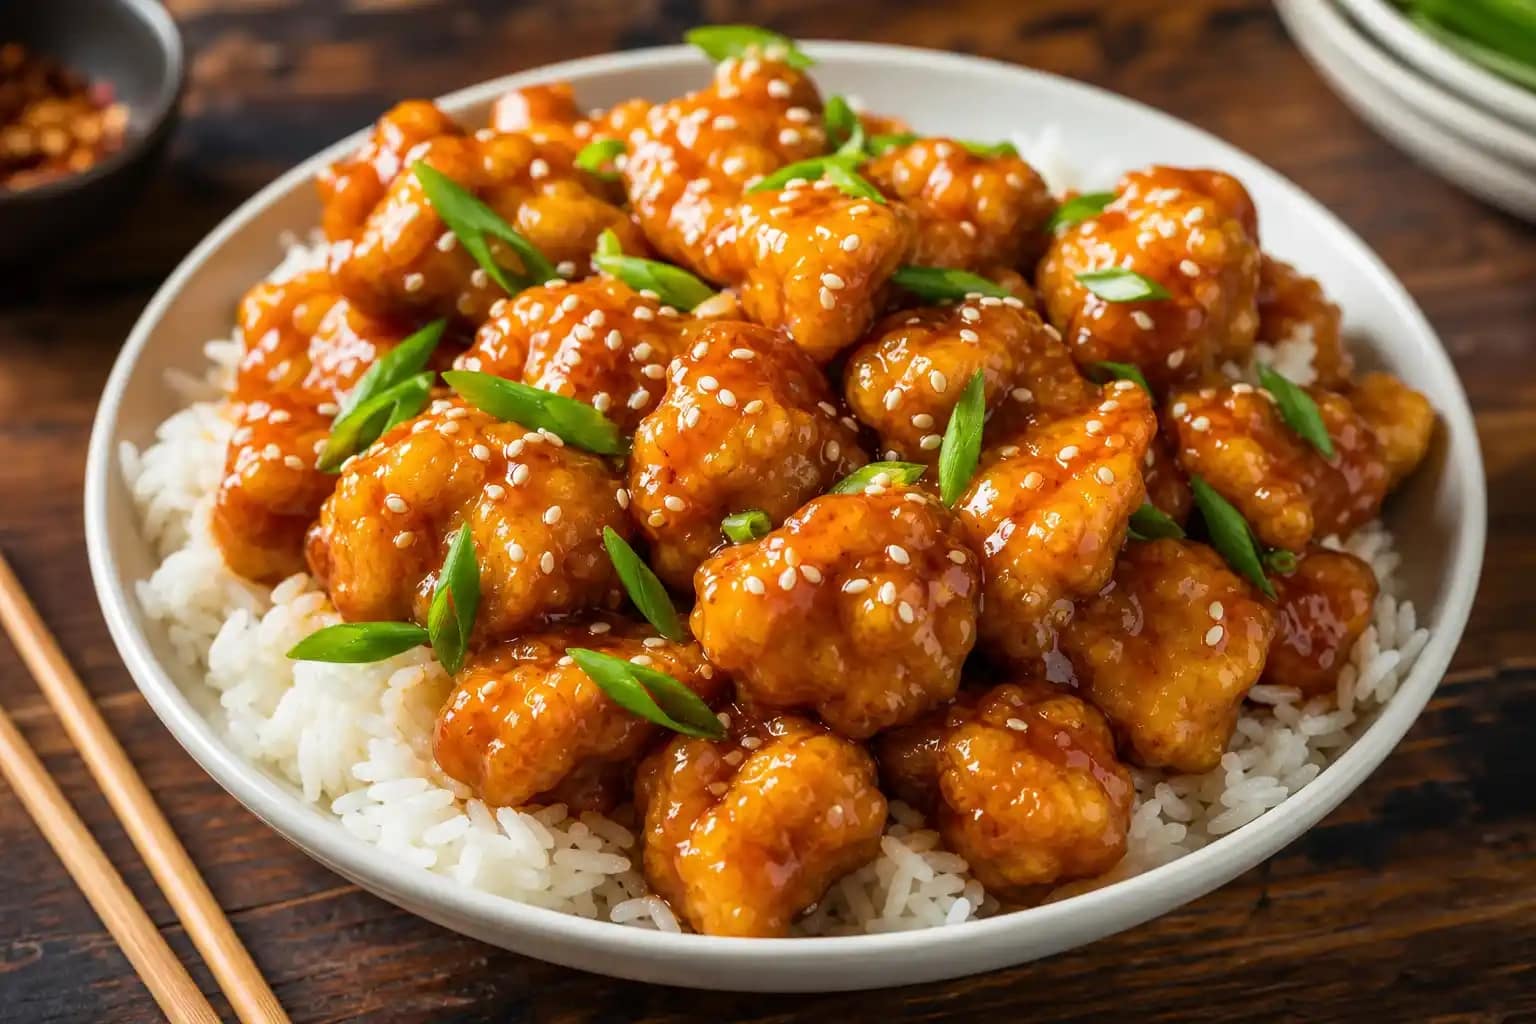
The wet batter fried chicken approach skips the buttermilk brine and instead dips chicken directly into a thin batter made from flour, cornstarch, egg, and milk before frying. This produces a smoother, more uniform coating similar to Chinese chicken recipes style batter rather than the craggly, textured Southern crust this main recipe creates.
For a wet batter, combine 1 cup of flour, 1/2 cup of cornstarch, 1 egg, 1 cup of cold sparkling water, and the same seasonings as above, then whisk until smooth. Dip the chicken directly in the batter and fry at 375°F for a lighter, crispier, restaurant-style coating.
Chicken Tender Recipes Variation
Cut boneless, skinless chicken breasts into strips about 1 inch wide before brining and dredging for chicken tender recipes using the exact same coating method. Tenders fry faster than bone-in pieces, needing only 6 to 8 minutes at 350°F. They work beautifully for dipping and make a crowd-pleasing fried chicken meals option for kids and adults alike.

Juicy Fried Chicken With a Crunchy Cornstarch Crust
6
servings15
minutes4
hours30
minutesThis fried chicken combines buttermilk-brined bone-in chicken pieces double-dredged in a cornstarch and seasoned flour mixture and deep fried at 350°F until deeply golden and cooked through. Drained on a wire rack and rested before serving, it delivers a genuinely crispy, juicy result that rivals any restaurant version.
Ingredients
For the buttermilk brine:
3 pounds bone-in chicken pieces
2 cups buttermilk
1 tablespoon hot sauce
1 teaspoon salt
1 teaspoon garlic powder
1/2 teaspoon black pepper
For the seasoned flour coating:
2 cups all-purpose flour
1/2 cup cornstarch
2 teaspoons salt
1 teaspoon black pepper
1 teaspoon garlic powder
1 teaspoon onion powder
1 teaspoon smoked paprika
1 teaspoon cayenne pepper
1 teaspoon dried thyme
1/2 teaspoon dried oregano
For frying:
vegetable or peanut oil, 3 inches deep in pot
Directions
- Combine buttermilk, hot sauce, salt, garlic powder, and pepper in a large bowl or bag
- Add chicken pieces and submerge completely in the brine
- Refrigerate for at least 4 hours or overnight
- Whisk together flour, cornstarch, and all dry seasonings in a wide shallow dish
- Remove chicken from brine and let excess drip for 3 seconds without shaking dry
- Press each piece firmly into the seasoned flour on all sides
- Dip briefly back into remaining brine, let excess drip off, then dredge in flour a second time
- Place double-dredged pieces on a wire rack and rest for 15 to 20 minutes
- Heat oil in a large pot to 350°F using a thermometer
- Fry 2 to 3 pieces at a time, turning every 4 to 5 minutes for even browning
- Fry dark meat for 14 to 16 minutes and white meat for 10 to 12 minutes until golden
- Check internal temperature reaches 165°F with an instant-read thermometer
- Transfer to a wire rack set over a paper towel-lined sheet to drain
- Rest for 5 minutes before serving
Common Mistakes to Avoid
Skipping the brine: Unbrined chicken produces a seasoned exterior with a bland, dry interior. The brine is not optional for genuinely good fried chicken.
Frying at the wrong temperature: Oil that’s too cool produces greasy, soggy chicken. Oil that’s too hot burns the outside before the inside cooks. Always use a thermometer.
Overcrowding the pot: Too many pieces at once drops the temperature and produces uneven, pale-coated chicken. Two to three pieces per batch is the maximum.
Putting chicken directly on paper towels: Trapped steam softens the underside crust immediately. Always drain on a wire rack for maximum crunch retention.
FAQs
Q1: Can I make fried chicken without buttermilk?
Yes, mix 2 cups of regular milk with 2 tablespoons of white vinegar or lemon juice, stir once, and let it sit for 5 minutes. This creates a cultured milk substitute that works nearly as well as buttermilk for tenderizing and flavor.
Q2: What oil is best for deep fried chicken?
Peanut oil produces the cleanest flavor and has a high smoke point that handles the required frying temperature excellently. Vegetable oil works as a more affordable alternative. Avoid olive oil, since its lower smoke point produces off flavors at frying temperatures.
Q3: Can I bake this instead of frying?
Yes, place dredged chicken pieces on a wire rack over a baking sheet, spray generously with cooking oil, and bake at 425°F for 40 to 45 minutes, flipping halfway. The texture won’t match deep fried chicken but produces a genuinely crispy result for a much lower-fat version.
Q4: How do I keep fried chicken warm for a crowd?
Place finished pieces on a wire rack over a baking sheet in a 200°F oven while completing remaining batches. This keeps them warm without continuing to cook and maintains the crust better than covering them, which traps steam.
Q5: Can I reuse the frying oil?
Yes, let the oil cool completely, strain it through a fine mesh sieve to remove food particles, and store in an airtight container in a cool location. Strained oil keeps well for 2 to 3 more uses for chicken or similar proteins.
Wrapping It Up
This fried chicken recipe delivers genuinely exceptional, restaurant-quality results through a buttermilk brine, a cornstarch-enhanced double-dredge, proper oil temperature maintenance, batch frying, and wire rack draining. Brine for at least 4 hours, use a thermometer for oil and internal temperature, fry in small batches, and always drain on a rack. Those habits make the best chicken recipes possible in a home kitchen.
Whether you go classic bone-in Southern style, switch to wet batter for a different texture, or cut to tenders for a crowd, this recipe consistently delivers. Now start that brine and get frying.