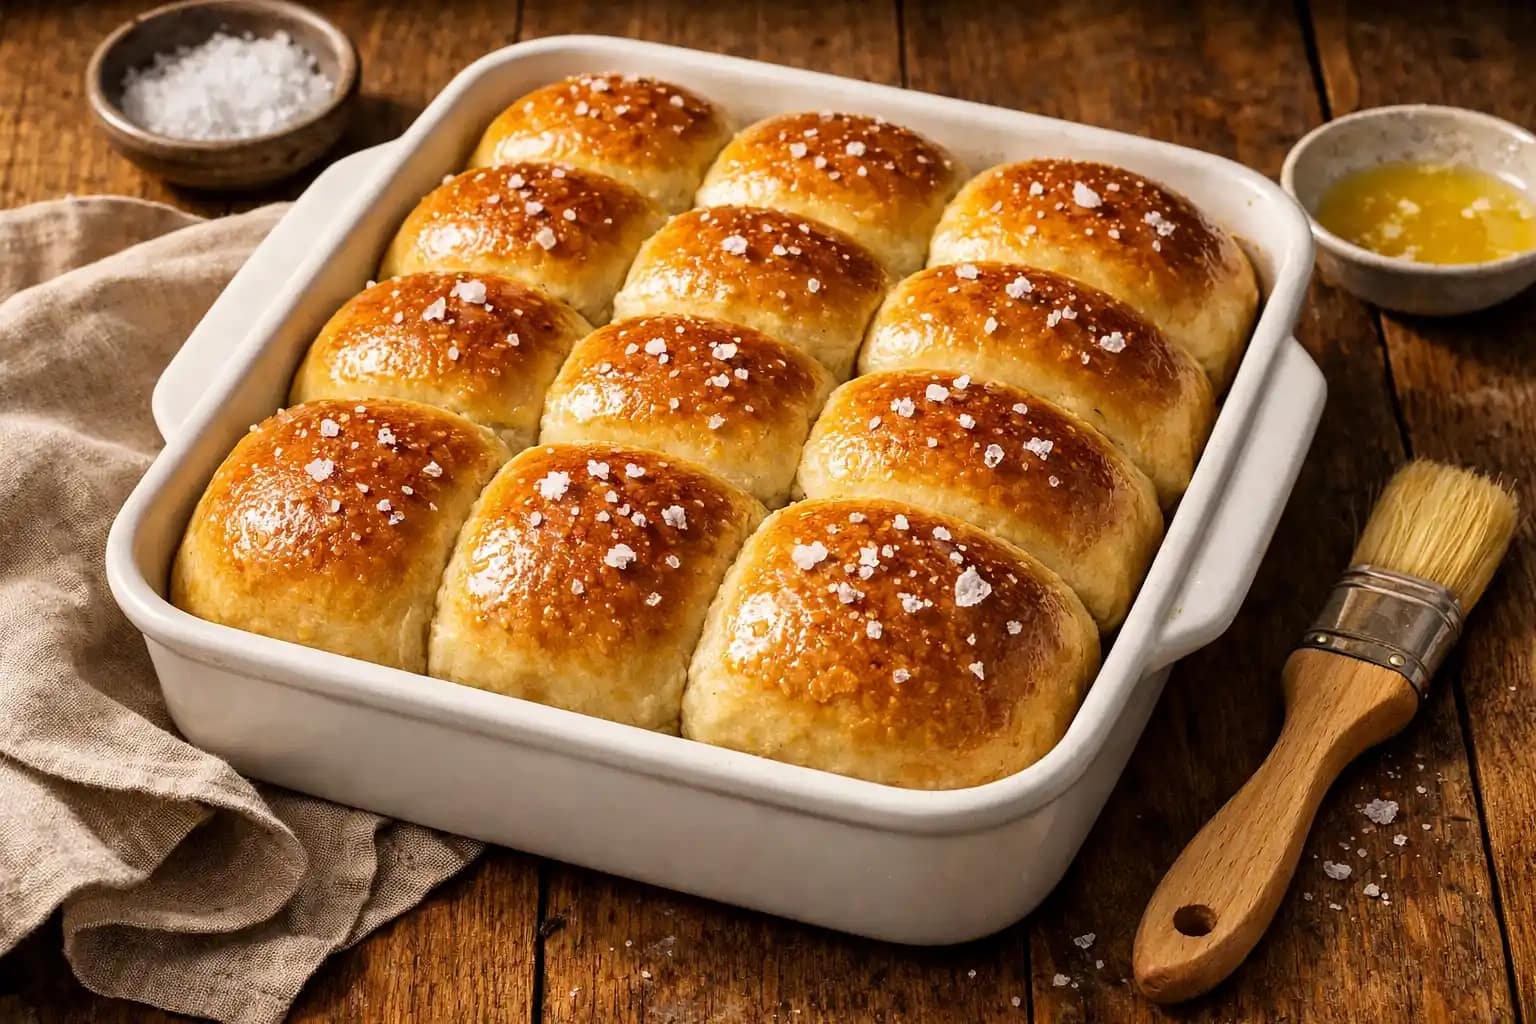
Sweet Dinner Rolls That Steal Every Holiday Table
Every single time I put dinner rolls on the table, they vanish before the main course gets half eaten. I’ve stopped being offended by this. The rolls are genuinely the best part, and I’ve accepted that.
This dinner rolls recipe produces soft, pillowy, slightly sweet rolls with a glossy golden top and a pull-apart texture that makes it genuinely impossible to eat just one. These work as easy supper ideas companions, holiday centerpieces, or an entirely justified Tuesday treat.
What You’ll Need (Ingredients)
Simple pantry staples that produce genuinely impressive results when handled correctly.
For the dough:
- 1 cup whole milk, warmed to 110°F
- 2 1/4 teaspoons active dry yeast (one standard packet)
- 1/4 cup granulated sugar
- 3 1/2 cups all-purpose flour, plus extra for dusting
- 1 teaspoon salt
- 2 large eggs, room temperature
- 1/3 cup unsalted butter, softened and cubed
For the finish:
- 3 tablespoons unsalted butter, melted
- 1 tablespoon honey, optional, for a sweeter glaze
- 1/4 teaspoon flaky sea salt, for sprinkling
How to Make It — Full Step-by-Step Process
Step One: Activate the Yeast
Pour 1 cup of warmed milk into a large mixing bowl or the bowl of a stand mixer. The milk should feel warm to the touch, around 110°F, roughly the temperature of a comfortable bath. Too hot and it kills the yeast, too cold and the yeast never wakes up properly.
Sprinkle in the 2 1/4 teaspoons of active dry yeast and 1 tablespoon of the measured sugar. Stir gently once and let the mixture sit completely undisturbed for 5 to 10 minutes. After this time, the surface should look visibly foamy and smell yeasty and slightly sweet. If it looks flat and unchanged after 10 minutes, the yeast is likely dead and you need to start fresh with a new packet.
Step Two: Build the Dough
Add the remaining sugar, both eggs, and 1 teaspoon of salt to the activated yeast mixture. Whisk briefly to combine everything. Add 3 cups of the flour and mix on low speed with a dough hook attachment, or stir vigorously with a wooden spoon, until a shaggy dough begins to form.
Add the softened, cubed butter a few pieces at a time while mixing, waiting for each addition to incorporate before adding the next. This gradual butter addition takes about 3 minutes total but produces a significantly richer, more tender roll than dumping it all in at once. Add the remaining flour a few tablespoons at a time until the dough pulls away cleanly from the sides of the bowl.
Step Three: Knead the Dough
Knead the dough with a dough hook on medium speed for 6 to 8 minutes, or turn it out onto a lightly floured surface and knead by hand for 8 to 10 minutes. The dough is ready when it feels smooth, slightly tacky but not sticky, and springs back when you poke it gently with a floured finger.
Have you ever under-kneaded bread dough and ended up with dense, gummy rolls instead of fluffy ones? This kneading time develops the gluten structure that gives the rolls their characteristic light, pull-apart texture. Don’t cut this step short, since it genuinely makes the difference between flat dense rolls and properly fluffy dinner rolls.
Step Four: First Rise
Shape the kneaded dough into a smooth ball and place it into a lightly greased bowl, turning it once to coat all sides with a thin layer of oil. Cover the bowl tightly with plastic wrap or a clean damp kitchen towel. Set it somewhere warm and draft-free to rise for 1 hour, until the dough roughly doubles in size.
FYI, the inside of an oven with just the oven light turned on works beautifully as a proofing environment in cooler kitchens. The light generates just enough gentle warmth to encourage a consistent rise without any risk of overheating the dough.
Step Five: Shape the Rolls
Punch the risen dough down firmly to release the gas buildup, then turn it out onto a lightly floured surface. Divide the dough into 15 equal pieces using a bench scraper or sharp knife. Weighing each piece on a kitchen scale gives the most consistent sizing, with each piece coming in around 55 to 60 grams.
Shape each piece into a smooth ball by cupping your hand over it and rolling it in tight circular motions against the work surface, creating surface tension that gives each roll a neat, round shape. Place the shaped rolls into a greased 9×13 inch baking dish, arranging them in rows with just a small gap between each one. They’ll expand during the second rise and bake to fill the dish completely, creating that classic pull-apart dinner roll look.
Step Six: Second Rise
Cover the shaped rolls loosely with plastic wrap or a clean towel and let them rise again for 30 to 45 minutes, until they look noticeably puffed and the rolls press gently against each other. This second rise is what produces the final soft, airy interior texture, so don’t rush past it by placing underpuffed rolls into a hot oven.
IMO, this second rise produces a noticeably superior roll compared to skipping straight to baking, and it only takes about 35 minutes of passive waiting time. Preheat your oven to 375°F during the last 15 minutes of this second rise so it’s fully hot and ready when the rolls are.
Step Seven: Bake to Golden Perfection
Bake the rolls in the preheated 375°F oven for 16 to 18 minutes, until the tops turn a consistent, deep golden-brown and the rolls sound slightly hollow when tapped on top. Avoid opening the oven door before the 14-minute mark, since the temperature drop can interrupt the final rise and cause uneven browning.
Remove the baking dish from the oven and immediately brush the entire surface of the rolls generously with 3 tablespoons of melted butter while they’re still hot. The hot surface absorbs the butter instantly, giving the rolls that irresistible glossy, rich finish and an extra layer of buttery flavor in every bite. Sprinkle flaky sea salt lightly over the top if using, and serve warm directly from the dish.
Make-Ahead Options for Holiday Baking
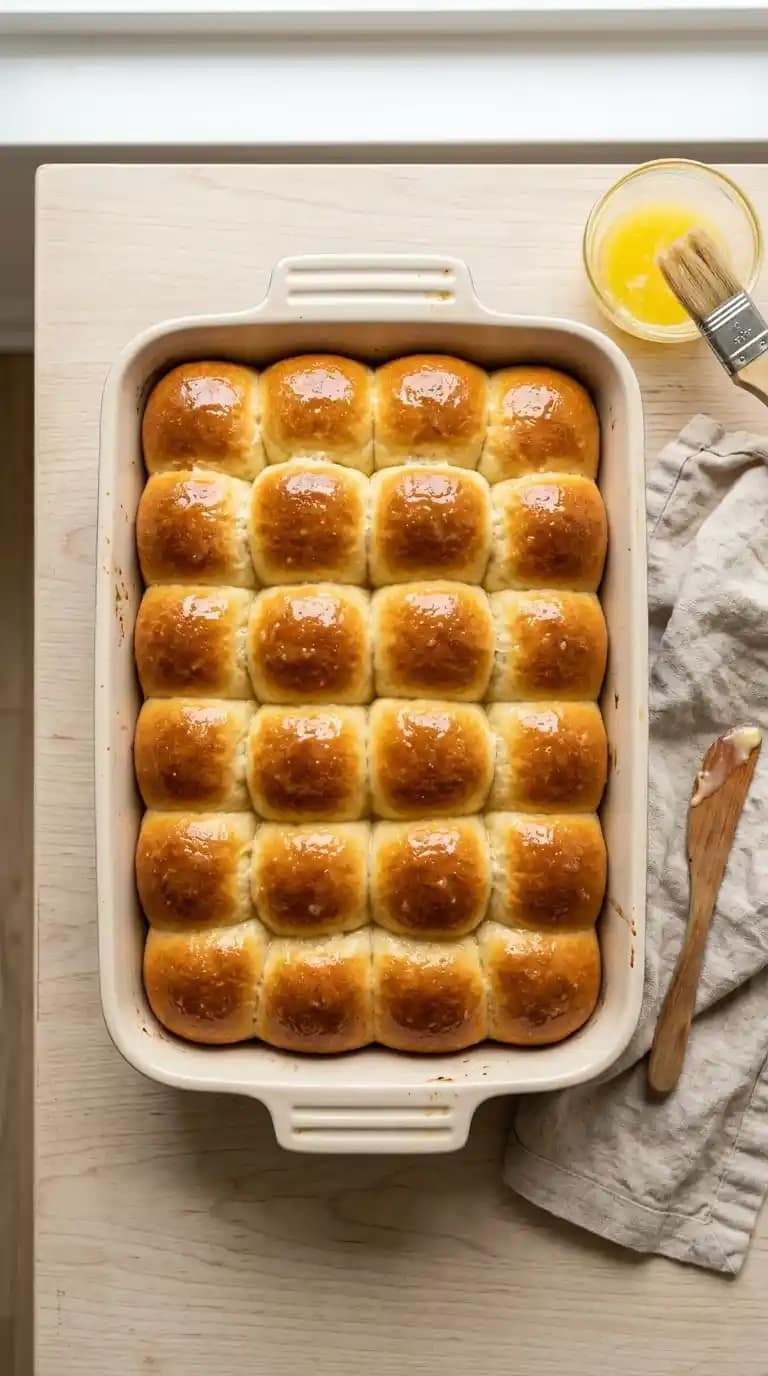
Thanksgiving Rolls and Christmas Dinner Rolls
These rolls work perfectly for Thanksgiving rolls recipes and Christmas dinner rolls because you can prepare them almost entirely ahead of time. Shape the rolls after the first rise, place them into the baking dish, cover tightly with plastic wrap, and refrigerate overnight rather than doing the second rise at room temperature.
The next morning, remove the dish from the fridge and let the rolls rise at room temperature for 45 minutes to 1 hour before baking as directed. This overnight refrigerator rise produces rolls with an even more developed flavor than same-day rolls, making the make-ahead approach genuinely superior for holiday hosting.
Sweet Dinner Rolls Variation
Sweet Yeast Rolls Recipe Version
For a sweeter, more enriched sweet yeast rolls recipe result, increase the sugar from 1/4 cup to 1/3 cup and add 1 teaspoon of vanilla extract to the dough during the mixing stage. Brush the finished rolls with a honey butter glaze made from equal parts melted butter and warm honey instead of plain butter.
This sweet dinner rolls version pairs beautifully with Thanksgiving and Christmas spreads and works as a genuinely satisfying easy lunch ideas component when served with ham or turkey slices the next day.

Sweet Dinner Rolls That Steal Every Holiday Table
15
servings20
minutes1
hour30
minutes18
minutesThese fluffy dinner rolls use a simple enriched yeast dough with butter, eggs, and milk, shaped into soft balls and baked until golden, then brushed with melted butter straight from the oven. With a make-ahead overnight option perfect for holiday hosting, they deliver bakery-quality pull-apart rolls every single time.
Ingredients
For the dough:
1 cup whole milk, warmed to 110°F
2 1/4 teaspoons active dry yeast
1/4 cup granulated sugar
3 1/2 cups all-purpose flour, plus extra for dusting
1 teaspoon salt
2 large eggs, room temperature
1/3 cup unsalted butter, softened and cubed
For the finish:
3 tablespoons unsalted butter, melted
1 tablespoon honey, optional
1/4 teaspoon flaky sea salt, optional
Directions
- Warm the milk to 110°F and combine with yeast and 1 tablespoon of sugar in a large bowl
- Let the mixture sit for 5 to 10 minutes until foamy and fragrant
- Add remaining sugar, eggs, and salt, then whisk to combine
- Add 3 cups of flour and mix until a shaggy dough forms
- Add softened butter a few pieces at a time while mixing until fully incorporated
- Add remaining flour gradually until the dough pulls away cleanly from the bowl sides
- Knead for 6 to 8 minutes with a dough hook or 8 to 10 minutes by hand until smooth and slightly tacky
- Shape into a ball, place in a greased bowl, cover, and let rise for 1 hour until doubled
- Punch down the risen dough and divide into 15 equal pieces
- Shape each piece into a smooth ball using circular motions against the work surface
- Arrange rolls in a greased 9×13 baking dish with small gaps between each one
- Cover and let rise for 30 to 45 minutes until puffed and rolls press gently together
- Preheat oven to 375°F during the final 15 minutes of the second rise
- Bake for 16 to 18 minutes until deep golden-brown on top
- Brush immediately with melted butter while still hot
- Sprinkle with flaky sea salt if using and serve warm from the dish
Common Mistakes to Avoid
Using milk that’s too hot: Liquid above 115°F kills the yeast cells instantly and produces dough that never rises. Always check the temperature before adding the yeast.
Skipping the second rise: Rolls baked without a proper second rise come out dense and tight rather than fluffy and pull-apart. Always give the shaped rolls at least 30 minutes to puff before baking.
Not brushing with butter immediately after baking: Butter applied to hot rolls absorbs beautifully into the surface, while butter applied to cooled rolls just sits on top. Brush within 30 seconds of removing from the oven.
Overcrowding or undercrowding the baking dish: Rolls placed too far apart don’t develop that soft, pillowy side texture that comes from rising and baking together. Keep them close enough to just touch after the second rise.
FAQs
Q1: Can I make these dinner rolls ahead of time?
Yes, shape after the first rise, place in the dish, cover tightly, and refrigerate for up to 18 hours. Let them come to room temperature and complete the second rise before baking as directed.
Q2: Can I freeze dinner roll dough?
Yes, freeze the shaped, unbaked rolls after the first rise on a parchment-lined tray until solid, then transfer to a freezer bag for up to 2 months. Thaw overnight in the fridge, then complete the second rise before baking.
Q3: Why didn’t my rolls rise properly?
The most common culprit is yeast that didn’t activate, usually because the liquid was too hot or the yeast was expired. Always check that the mixture looks foamy after 10 minutes before proceeding with the rest of the recipe.
Q4: Can I use instant yeast instead of active dry?
Yes, skip the activation step entirely and mix the instant yeast directly into the dry ingredients. Reduce the first rise time slightly, since instant yeast works about 25 percent faster than active dry.
Q5: How do I store leftover dinner rolls?
Store cooled rolls in an airtight container or zip-lock bag at room temperature for up to 3 days. Reheat in a 300°F oven for 5 to 6 minutes or microwave briefly with a damp paper towel over the top to restore softness.
Q6: Can I make these as meal ideas for a crowd?
Absolutely, simply double the recipe and bake in two 9×13 dishes simultaneously. These scale up easily and remain one of the most crowd-pleasing dinner ideas easy enough for any skill level to execute successfully.
Wrapping It Up
This fluffy dinner rolls recipe delivers bakery-quality results through proper yeast activation, gradual butter addition, thorough kneading, and two full rise periods. Follow each step patiently, brush with butter immediately out of the oven, and serve warm. Those habits separate forgettable rolls from the ones guests specifically ask you to bring every year.
Whether you make these for a holiday spread, a regular weeknight supper, or just because fresh bread makes any meal feel like an event, they consistently deliver. Now activate that yeast and start rolling.