Homemade Caramel Cake With Real Stirred Frosting
My grandmother made this caramel cake exactly twice a year, and people genuinely planned their visits around it. I thought she was exaggerating its difficulty for decades. She was not exaggerating. This cake takes patience.
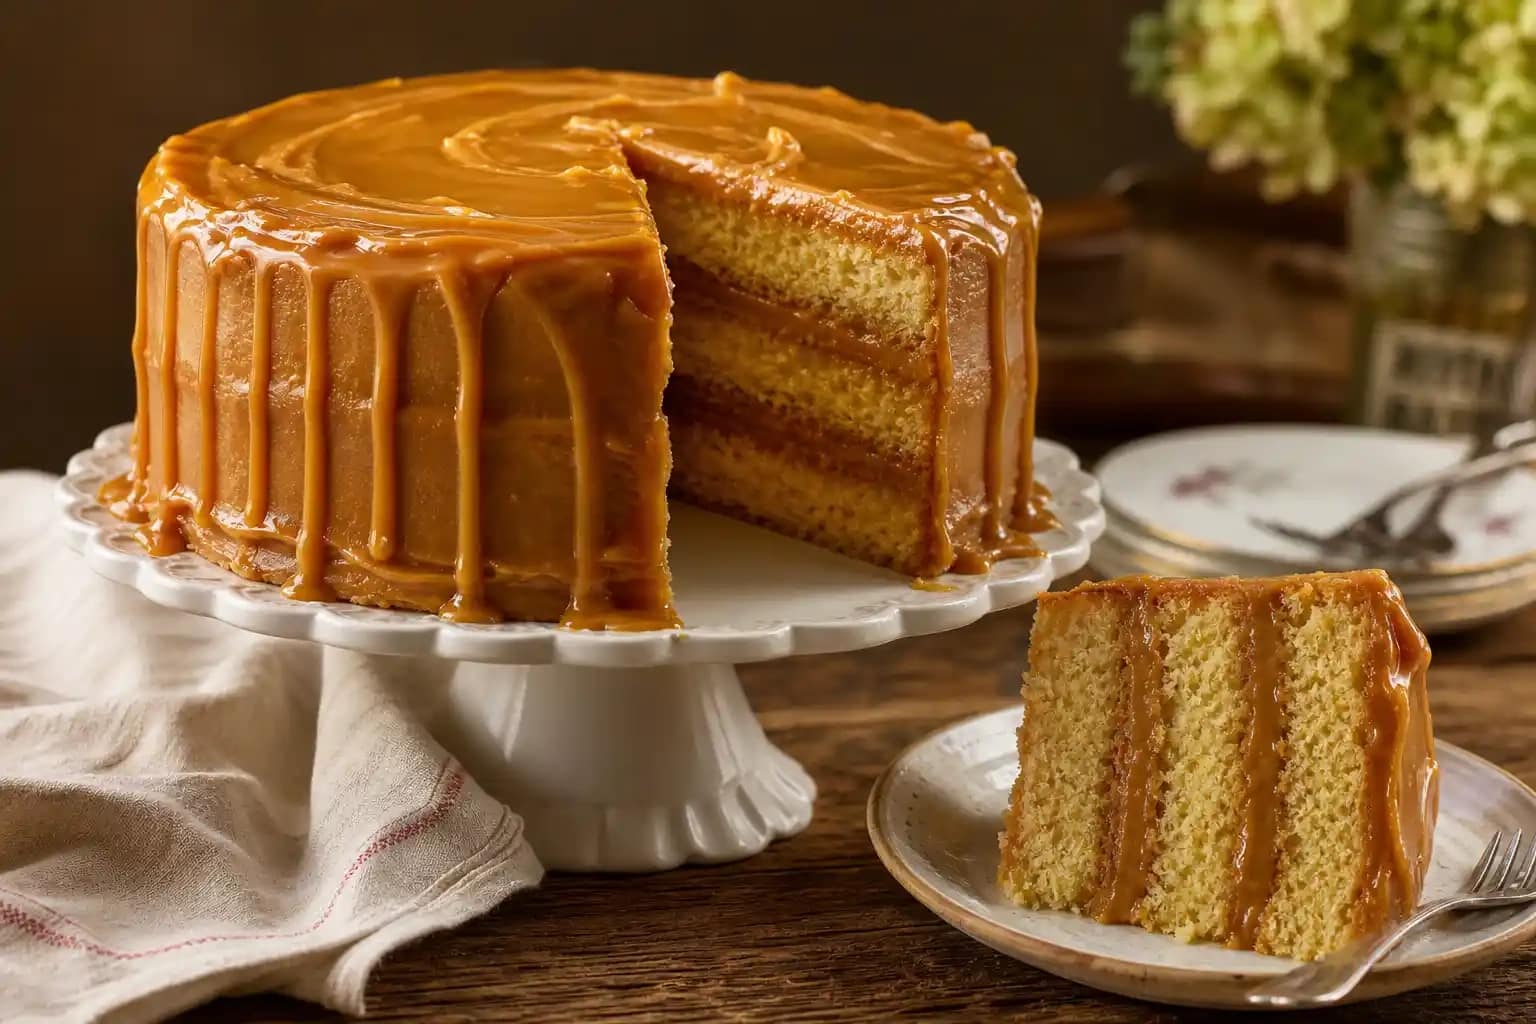
This classic southern caramel cake recipe involves a genuinely soft vanilla cake layered and coated in a rich, stirred caramel frosting that takes real attention at the stove. It is not a five-minute recipe. It is, however, one worth setting aside an afternoon for.
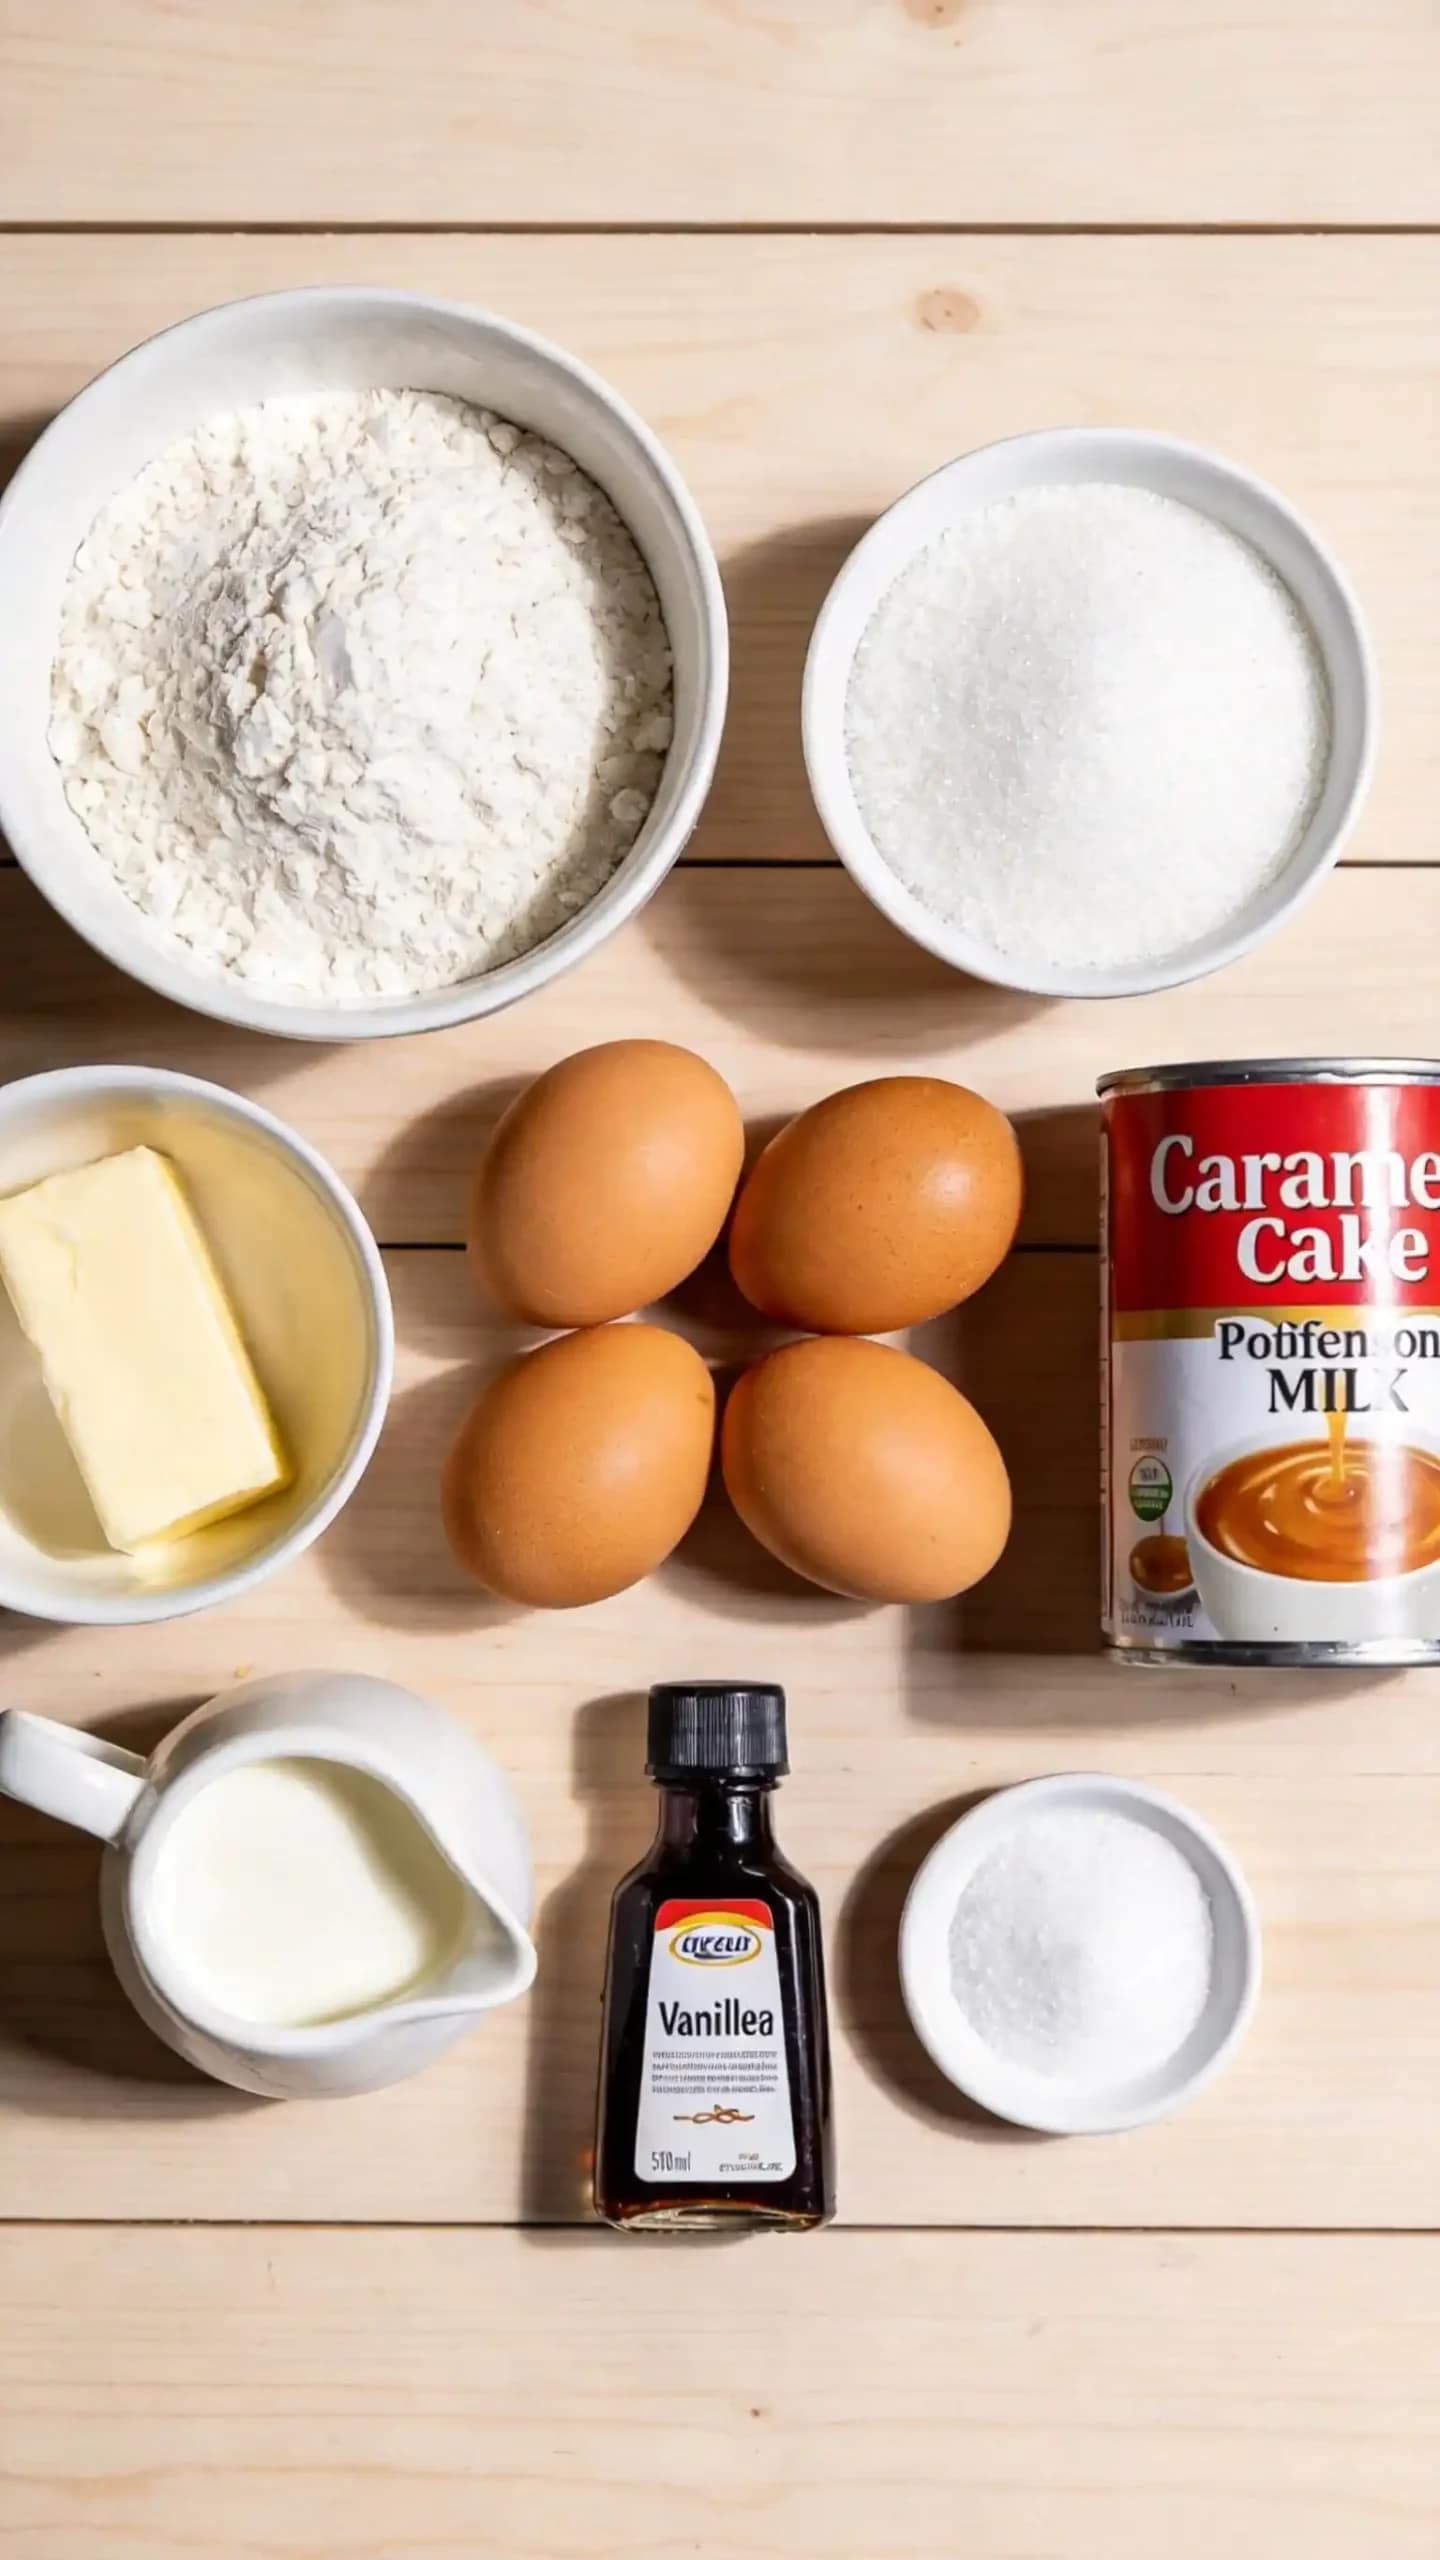
What You’ll Need (Ingredients)
A mix of standard baking staples plus patience for the caramel stage. That part cannot be rushed.
For the vanilla cake layers:
- 2 1/2 cups all-purpose flour
- 2 1/2 teaspoons baking powder
- 1/2 teaspoon salt
- 1 cup unsalted butter, softened
- 2 cups granulated sugar
- 4 large eggs, room temperature
- 1 tablespoon vanilla extract
- 1 cup whole milk
For the caramel filling and frosting:
- 3 cups granulated sugar, divided
- 1 1/2 cups unsalted butter
- 1 1/2 cups evaporated milk
- 1/2 cup heavy cream
- 1 tablespoon vanilla extract
- 1/2 teaspoon salt
Optional additions:
- 1/2 teaspoon flaky sea salt, for a salted caramel finish
- 2 medium apples, thinly sliced and sautéed, for an apple caramel version
- 1 tablespoon instant espresso powder, for a coffee caramel variation
How to Make It — Full Step-by-Step Process
Step One: Prepare the Cake Batter
Preheat your oven to 350°F (175°C) and grease three 9-inch round cake pans, lining the bottoms with parchment paper circles. Whisk together 2 1/2 cups of flour, 2 1/2 teaspoons of baking powder, and 1/2 teaspoon of salt in a medium bowl. Set this dry mixture aside completely.
Beat 1 cup of softened butter with 2 cups of granulated sugar in a large bowl using a hand mixer or stand mixer. Beat for a full 4 minutes until the mixture looks noticeably pale, light, and fluffy. This longer beating time genuinely matters, since it builds the air pockets that give the finished cake its soft, tender crumb.
Step Two: Combine Wet and Dry Ingredients
Add the 4 eggs into the butter mixture one at a time, beating well after each addition until fully incorporated. Mix in 1 tablespoon of vanilla extract. The batter should look smooth, glossy, and well combined at this point with no streaks of butter remaining.
Alternate adding the flour mixture and 1 cup of milk into the batter, starting and ending with the dry ingredients in three total additions. Mix on low speed just until each addition disappears into the batter, since overmixing at this stage builds excess gluten and produces a dense, tough cake instead of a soft one.
Step Three: Bake the Cake Layers
Divide the batter evenly among the three prepared cake pans, smoothing the tops with a spatula. Bake for 22 to 25 minutes, until a toothpick inserted into the center comes out clean or with just a few moist crumbs attached. Avoid opening the oven door before the 18-minute mark, since the temperature drop can cause uneven rising.
Let the cake layers cool in their pans for 10 minutes before turning them out onto wire racks to cool completely. Don’t rush this cooling step, since frosting warm cake layers with hot caramel frosting creates a melted, sliding mess instead of clean, stackable layers.
Step Four: Make the Caramel Base
Add 2 cups of the granulated sugar to a large, heavy-bottomed saucepan or Dutch oven over medium heat. Stir constantly with a wooden spoon as the sugar melts, since it goes from granular to clumpy to a smooth amber liquid over the course of about 8 to 10 minutes. This stage takes genuine focus, since sugar burns fast once it starts to brown.
Have you ever walked away from melting sugar for thirty seconds and come back to a burnt mess? Don’t risk it here. Keep stirring continuously until the sugar reaches a deep amber color, similar to the shade of a copper penny.
Step Five: Build the Caramel Sauce
Carefully add 1 1/2 cups of butter into the melted sugar, stirring constantly as it bubbles up dramatically. The mixture will look chaotic and separated for a moment, but keep stirring and it comes back together into a smooth, glossy mixture within about a minute.
Slowly pour in 1 1/2 cups of evaporated milk while stirring continuously, standing back slightly since the mixture bubbles up vigorously again at this stage. FYI, this is genuinely the most dramatic part of the whole recipe, so don’t panic when it looks like chaos in the pot for a few seconds.
Step Six: Cook the Caramel to the Right Stage
Stir in the remaining 1 cup of granulated sugar along with 1/2 cup of heavy cream. Reduce the heat slightly to medium-low and continue cooking, stirring frequently, for another 10 to 12 minutes until the mixture thickens and reaches roughly 235°F to 240°F on a candy thermometer, known as the soft-ball stage.
If you don’t own a candy thermometer, drop a small amount of the caramel into a glass of cold water. It should form a soft, pliable ball that flattens slightly when removed from the water rather than dissolving completely or holding a hard shape. Remove from heat once this stage is reached and stir in 1 tablespoon of vanilla extract and 1/2 teaspoon of salt.
Step Seven: Cool and Whip the Frosting
Pour the finished caramel into a large heatproof bowl and let it cool at room temperature for 30 to 45 minutes, stirring occasionally to prevent a skin from forming on top. The caramel needs to cool to a thick, spreadable consistency before it goes anywhere near your cake layers.
Once cooled, beat the caramel briefly with a hand mixer for about 1 minute until it lightens slightly in color and becomes easier to spread. This caramel filling for cake doubles as both the filling between layers and the frosting on the outside, which honestly simplifies the whole process despite how involved it sounds.
Step Eight: Assemble the Cake
Place one cooled cake layer on your serving plate or cake stand. Spread a generous, even layer of caramel frosting across the top using an offset spatula, then add the second layer and repeat. Top with the third layer and frost the entire outside of the cake, working from top to bottom for the smoothest finish.
IMO, a slightly imperfect, rustic caramel cake decoration actually suits this dessert better than a flawlessly smooth one. The drips and swoops feel intentional and homemade rather than sloppy, especially once you add a sprinkle of flaky salt on top.
Flavor Variations Worth Trying
Apple Caramel Cake
Sauté 2 thinly sliced apples in butter and a pinch of cinnamon until soft, then layer them between the cake and caramel filling for an apple caramel cake variation. The slight tartness of the apples cuts through the deep sweetness of the caramel beautifully.
Coffee Caramel Cake
Dissolve 1 tablespoon of instant espresso powder into the hot caramel sauce during Step Six for a coffee caramel cake twist. The bitterness rounds out the sweetness and adds genuine depth without making the cake taste overtly like coffee.
Salted Caramel Desserts Finish
Sprinkle 1/2 teaspoon of flaky sea salt over the finished, frosted cake for a proper salted caramel desserts finish. The contrast between sweet and salty makes every single bite taste more complex.
Common Mistakes to Avoid
Walking away during caramel making: Sugar burns within seconds once it starts browning. Stay at the stove and stir constantly throughout the entire caramelizing process.
Frosting warm cake layers: This melts the caramel frosting and causes it to slide right off the cake. Always cool layers completely before assembling.
Rushing the caramel cooling time: Warm caramel spreads too thin and runs off the sides of the cake. Let it cool to a thick, spreadable consistency first.
Using cold butter for the caramel sauce: Cold butter clumps instead of melting smoothly into the hot sugar. Let it sit at room temperature for 20 minutes before starting.

Homemade Caramel Cake With Real Stirred Frosting
12
servings30
minutes30
minutesThis classic Southern caramel cake layers soft vanilla cake with a rich, stirred caramel frosting made from scratch using sugar, butter, and evaporated milk. Cooked to soft-ball stage and cooled before assembly, it delivers a deeply nostalgic, buttery dessert worth the patience, finished with optional salted caramel or apple variations.
Ingredients
For the vanilla cake layers:
2 1/2 cups all-purpose flour
2 1/2 teaspoons baking powder
1/2 teaspoon salt
1 cup unsalted butter, softened
2 cups granulated sugar
4 large eggs, room temperature
1 tablespoon vanilla extract
1 cup whole milk
For the caramel filling and frosting:
3 cups granulated sugar, divided
1 1/2 cups unsalted butter
1 1/2 cups evaporated milk
1/2 cup heavy cream
1 tablespoon vanilla extract
1/2 teaspoon salt
Optional additions:
1/2 teaspoon flaky sea salt
2 medium apples, thinly sliced and sautéed
1 tablespoon instant espresso powder
Directions
- Preheat the oven to 350°F and grease and line three 9-inch cake pans
- Whisk together flour, baking powder, and salt, then set aside
- Beat butter and sugar for 4 minutes until pale and fluffy
- Add eggs one at a time, beating well after each, then mix in vanilla
- Alternate adding the flour mixture and milk in three additions, mixing on low speed
- Divide batter evenly among the three pans and smooth the tops
- Bake for 22 to 25 minutes until a toothpick comes out clean
- Cool in the pans for 10 minutes, then turn out onto wire racks to cool completely
- Melt 2 cups of sugar in a heavy-bottomed pot over medium heat, stirring constantly until deep amber
- Add butter and stir until smooth and combined
- Slowly pour in evaporated milk while stirring continuously
- Stir in the remaining sugar and heavy cream, then cook for 10 to 12 minutes until soft-ball stage
- Remove from heat and stir in vanilla extract and salt
- Cool the caramel for 30 to 45 minutes, stirring occasionally
- Beat the cooled caramel briefly until lighter and spreadable
- Layer cake rounds with caramel frosting between each, then frost the entire outside
- Top with flaky salt or other variations if desired
FAQs
Q1: Why did my caramel frosting turn grainy?
This usually happens when sugar crystals form during cooking, often from stirring too vigorously early on or not dissolving the sugar fully before it browns. Stir gently but consistently, and avoid scraping crystallized sugar from the sides of the pan into the mixture.
Q2: Can I make the caramel frosting ahead of time?
Yes, make it up to 2 days ahead and store covered at room temperature. Re-whip briefly with a hand mixer before frosting, since it firms up considerably after sitting.
Q3: What’s the best vanilla caramel cake pan size?
Three 9-inch round pans work best for even baking and a classic tall layer cake look. Two 9-inch pans work too, just increase the baking time to around 30 to 33 minutes per layer.
Q4: Can I freeze caramel cake?
Yes, freeze fully assembled and frosted cake slices individually wrapped for up to 2 months. Thaw overnight in the fridge, then bring to room temperature before serving for the best texture.
Q5: My caramel won’t reach the soft-ball stage. What went wrong?
This usually means your heat was too low or inconsistent throughout cooking. Keep the heat at a steady medium-low and use a reliable candy thermometer rather than guessing by appearance alone.
Q6: What are other good caramel dessert recipes if I don’t want a full cake?
Caramel sauce drizzled over ice cream, caramel apples, or simple caramel popcorn all make excellent caramel desserts easy enough for less ambitious days. The same stirred caramel base from this recipe works beautifully across all of them.
Wrapping It Up
This caramel cake recipe takes genuine time and attention, but it delivers a dessert that earns its reputation as a special-occasion showstopper. Beat your batter properly, watch that caramel like a hawk, cool everything completely, and don’t rush the assembly. Those habits separate a cake people remember from one they politely finish.
Whether you keep it classic, add apples, or stir in espresso for depth, this cake rewards the effort every single time. Now go grab that heavy-bottomed pot and start stirring.